
This post may contain affiliate links which won’t change your price but will share some commission.
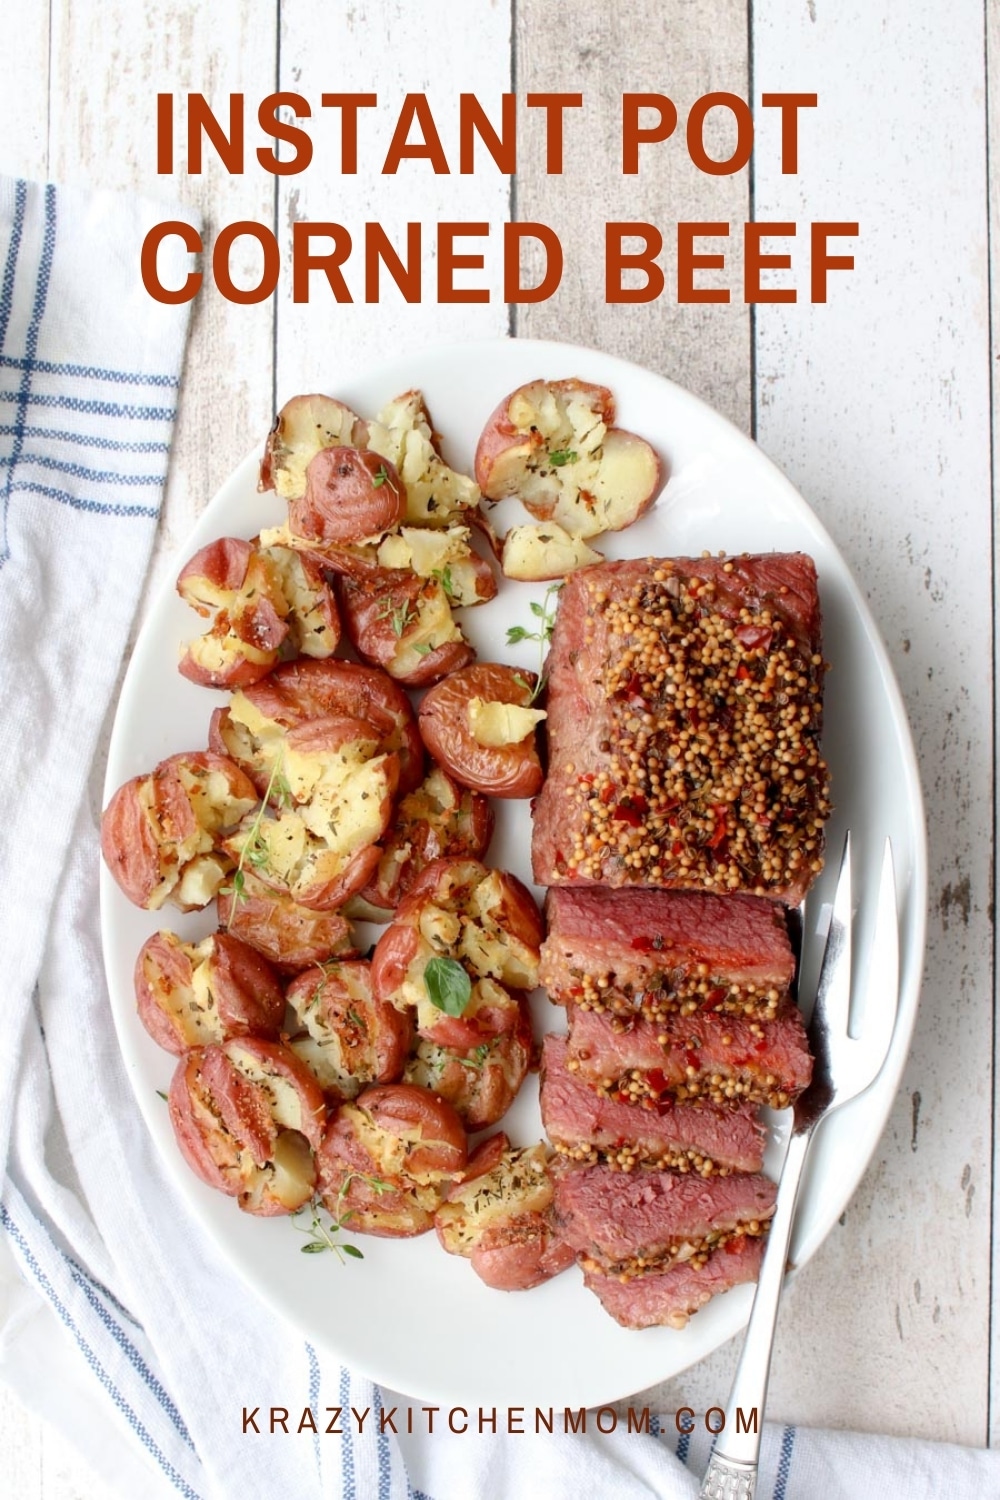
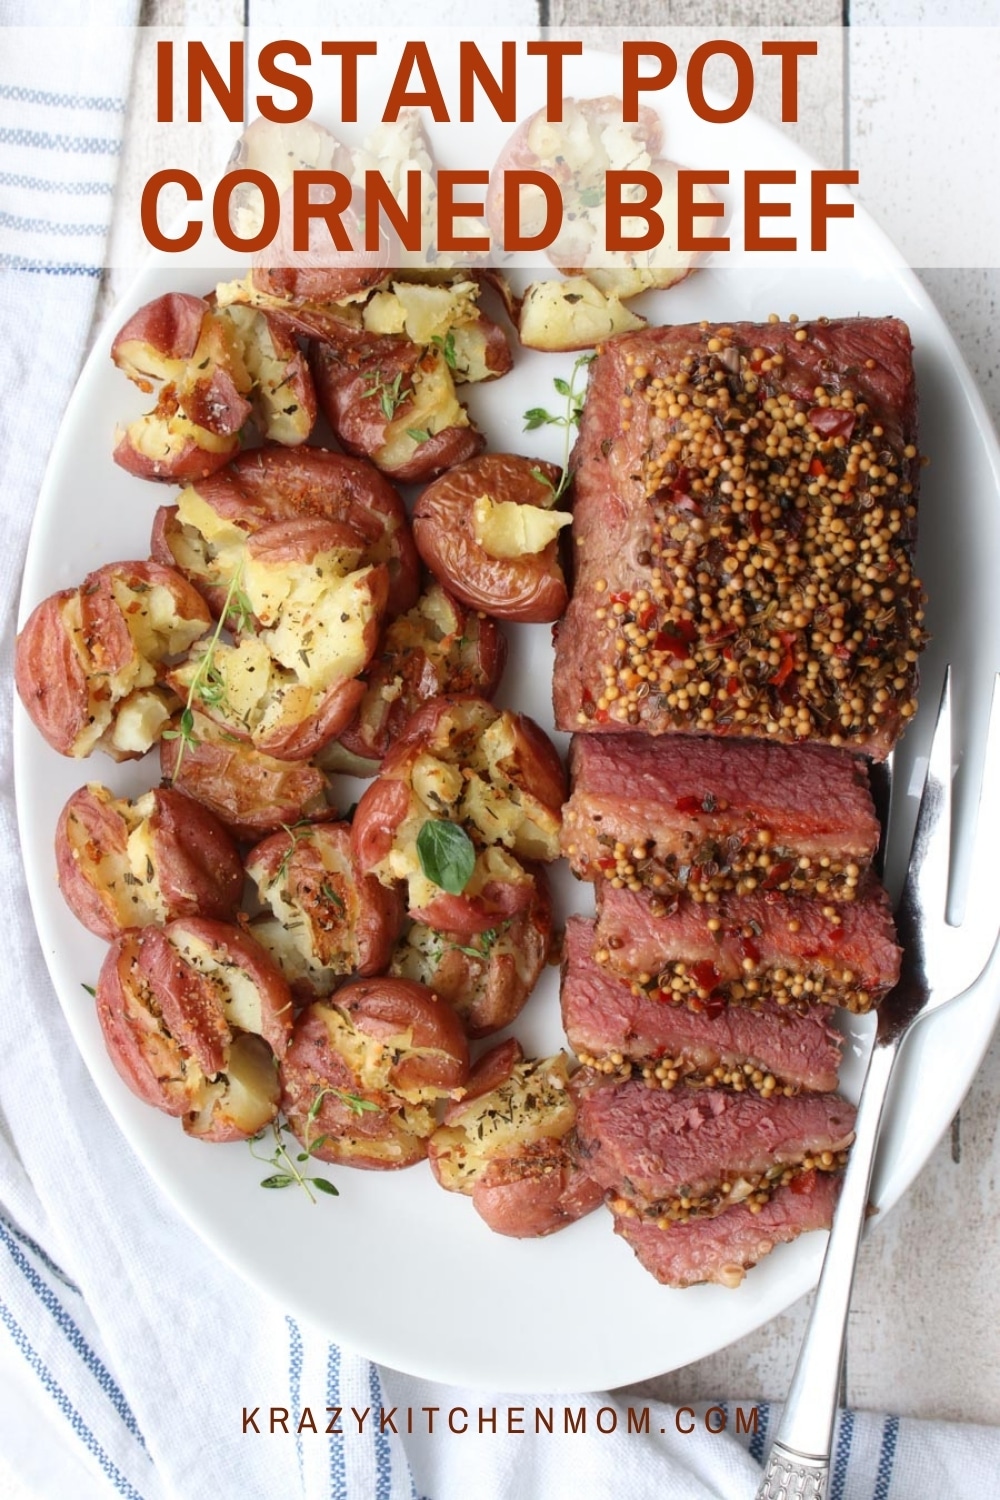
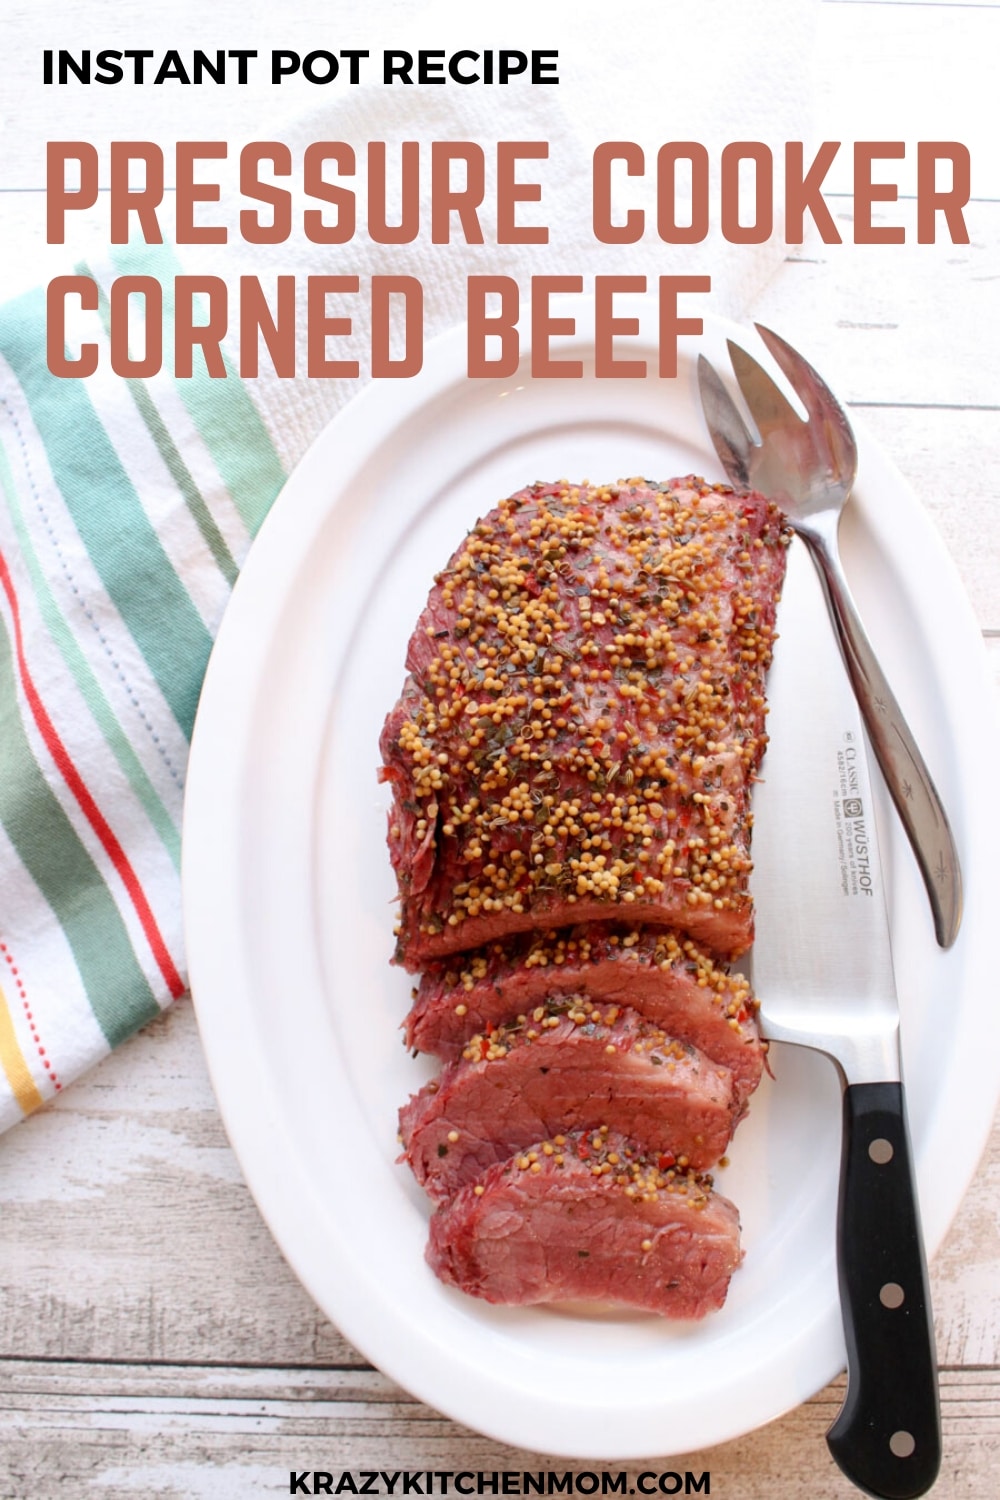
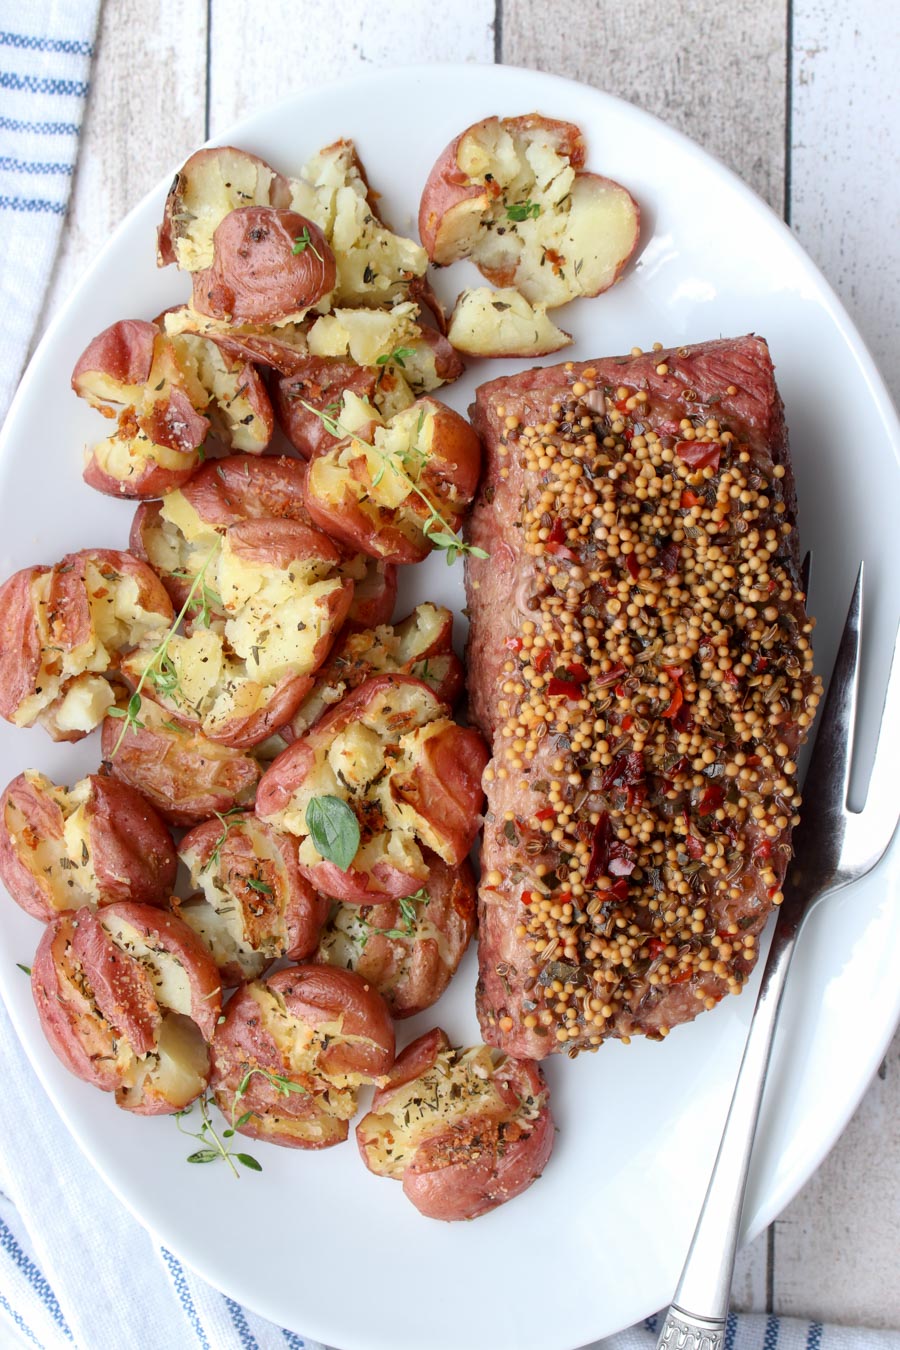
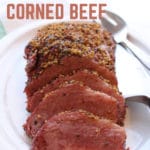
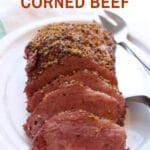
Dive into the world of flavor-packed convenience with our pressure cooker corned beef recipe.
This mouthwatering dish promises succulent, tender meat infused with rich spices and herbs, all achieved in a fraction of the time thanks to the magic of pressure cooking.
Why We Love Making Corned Beef in the Pressure Cooker
- Efficiency in Cooking Time: Using a pressure cooker significantly reduces the cooking time for corned beef. The high pressure and steam cook the meat quickly, making it a time-efficient option for a traditionally slow-cooked dish.
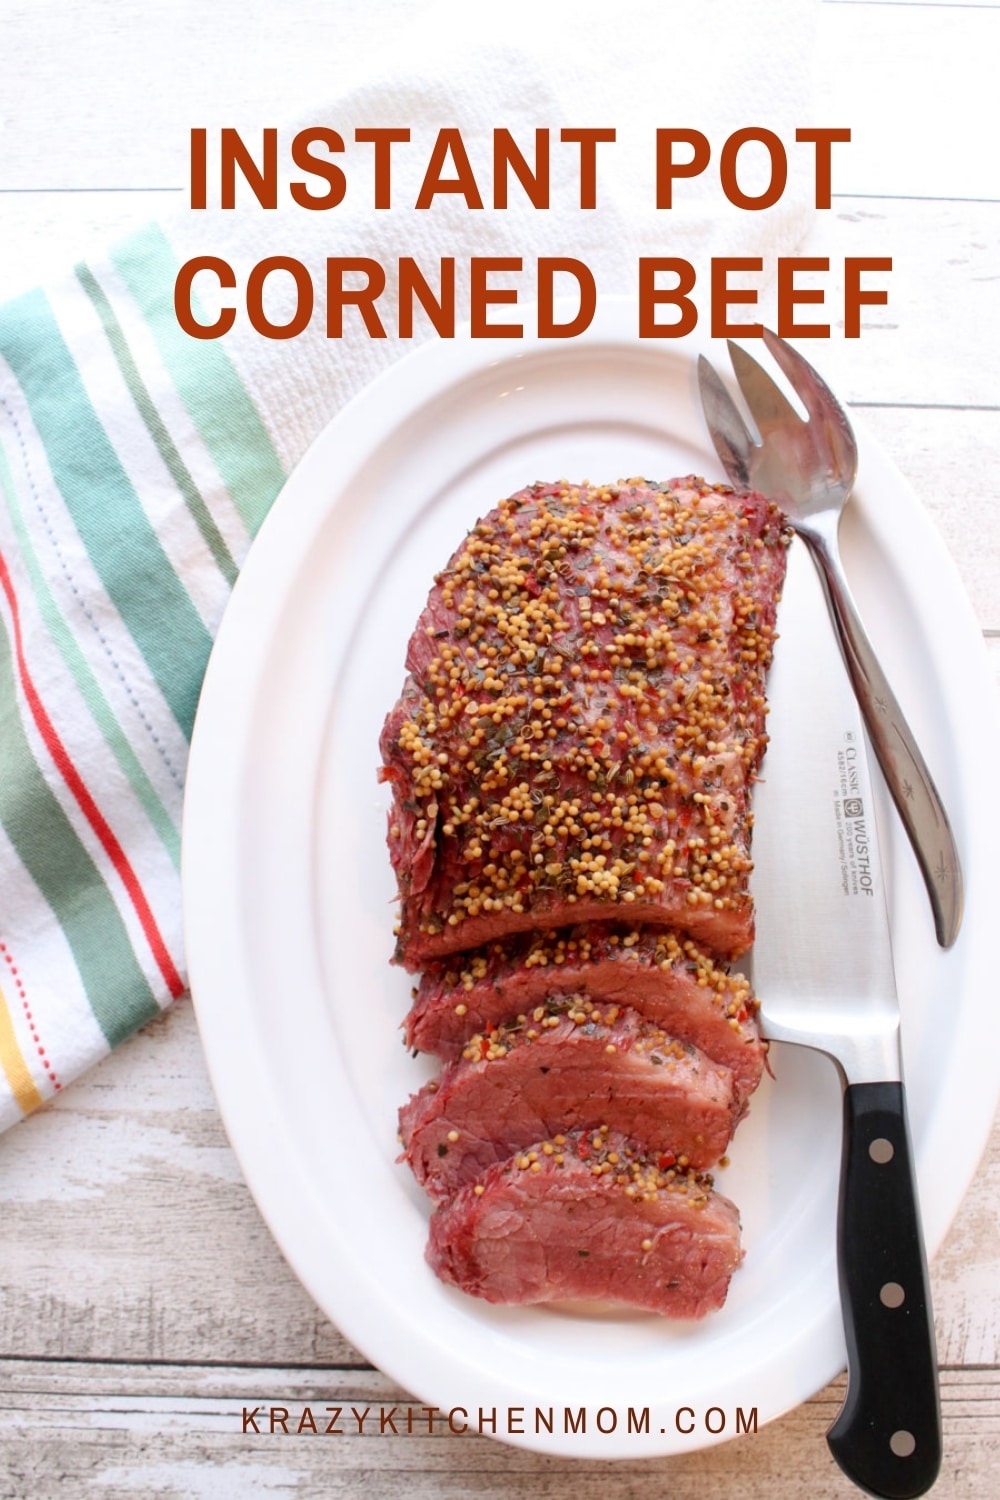
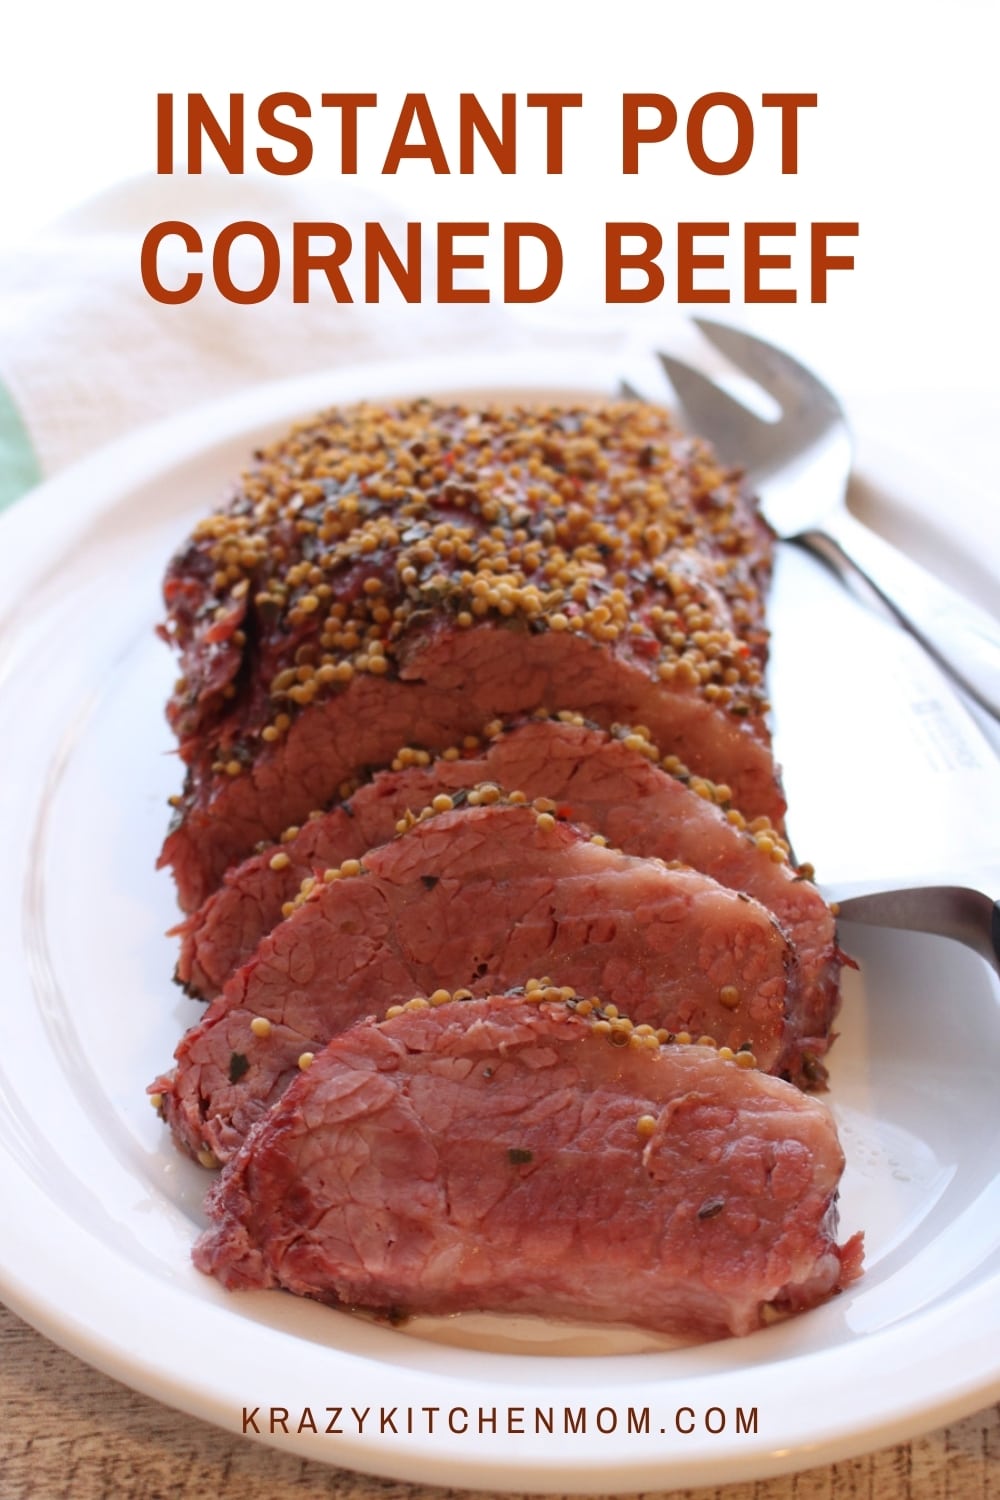
- Tender and Juicy Results: Pressure cooking helps break down the tough fibers in corned beef, resulting in a tender and juicy texture. The steam-infused environment ensures that the meat retains its moisture, delivering a flavorful and succulent result.
- Infused Flavor and Spice Penetration: The pressurized cooking environment allows the flavors and spices to penetrate the corned beef thoroughly. This results in a dish with a well-infused taste, as the pressure enhances the absorption of seasonings, herbs, and spices into the meat.
Ingredients
There are only three ingredients in this mouth-watering recipe. I can hardly call this a recipe it’s so easy. Just put three simple ingredients including the corned beef brisket into the Pressure Cooker, select the Meat setting, set it for 90 minutes, and let it do its magic.
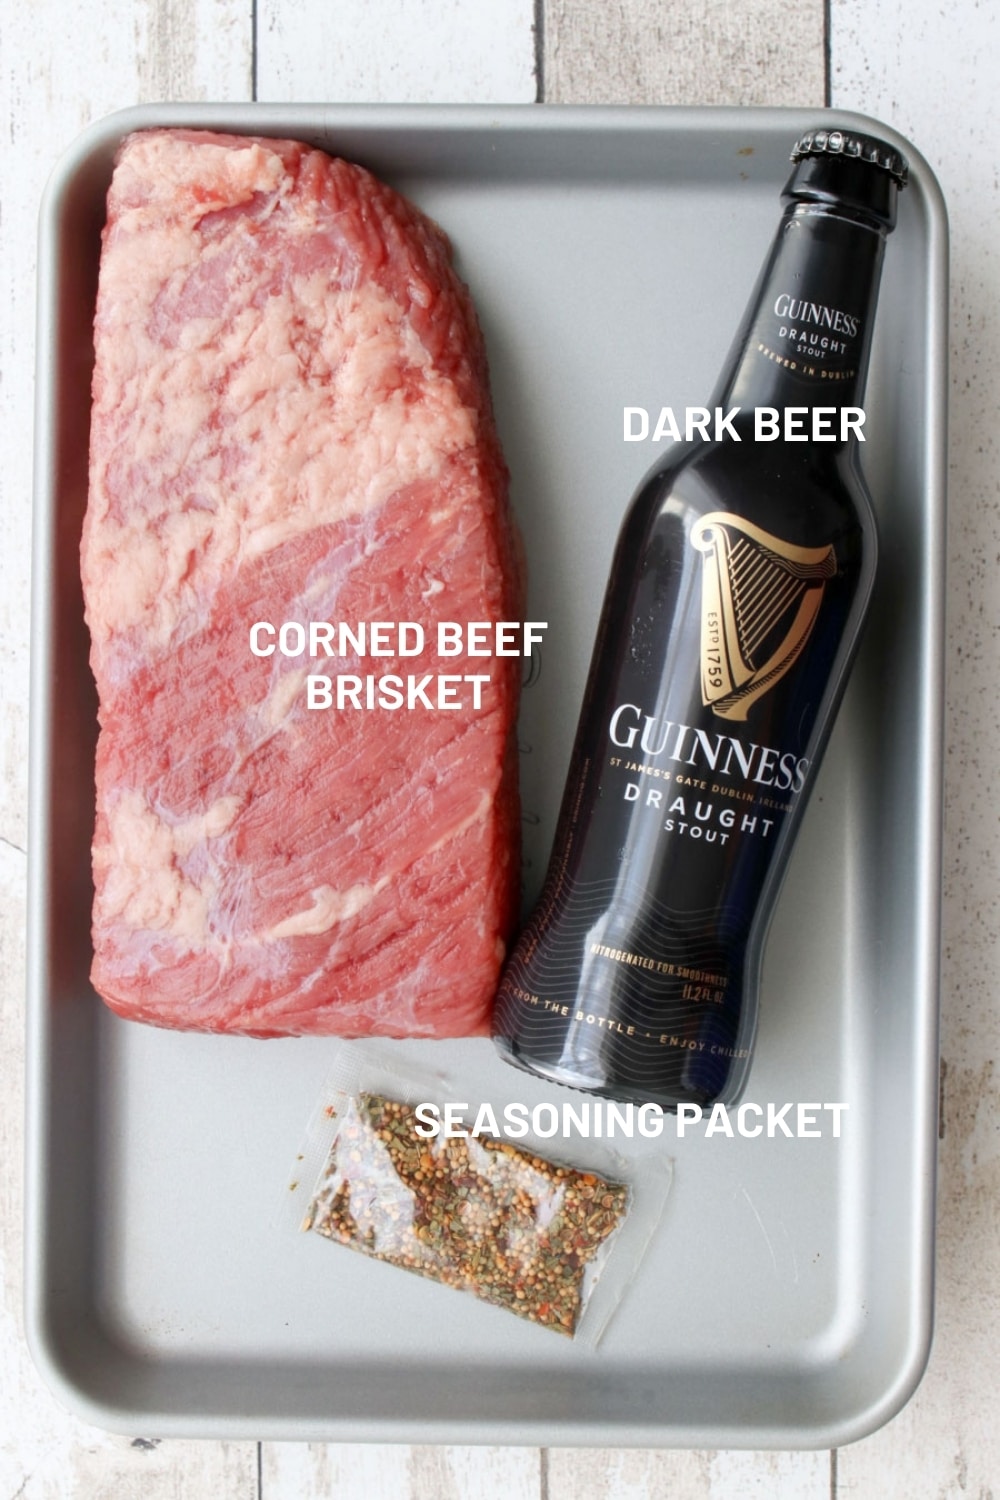
- Corned Beef Brisket – You can buy corned beef in most local grocery stores. You might think they only sell them in March for St. Patrick’s Day, but my grocer sells them year-round.
- Seasoning Pack that comes with the brisket – Too easy! Most package corned beef briskets are packaged with the seasoning pack included.
- Dark Beer – I selected a dark Irish stout because it pairs nicely with the corned beef flavor.
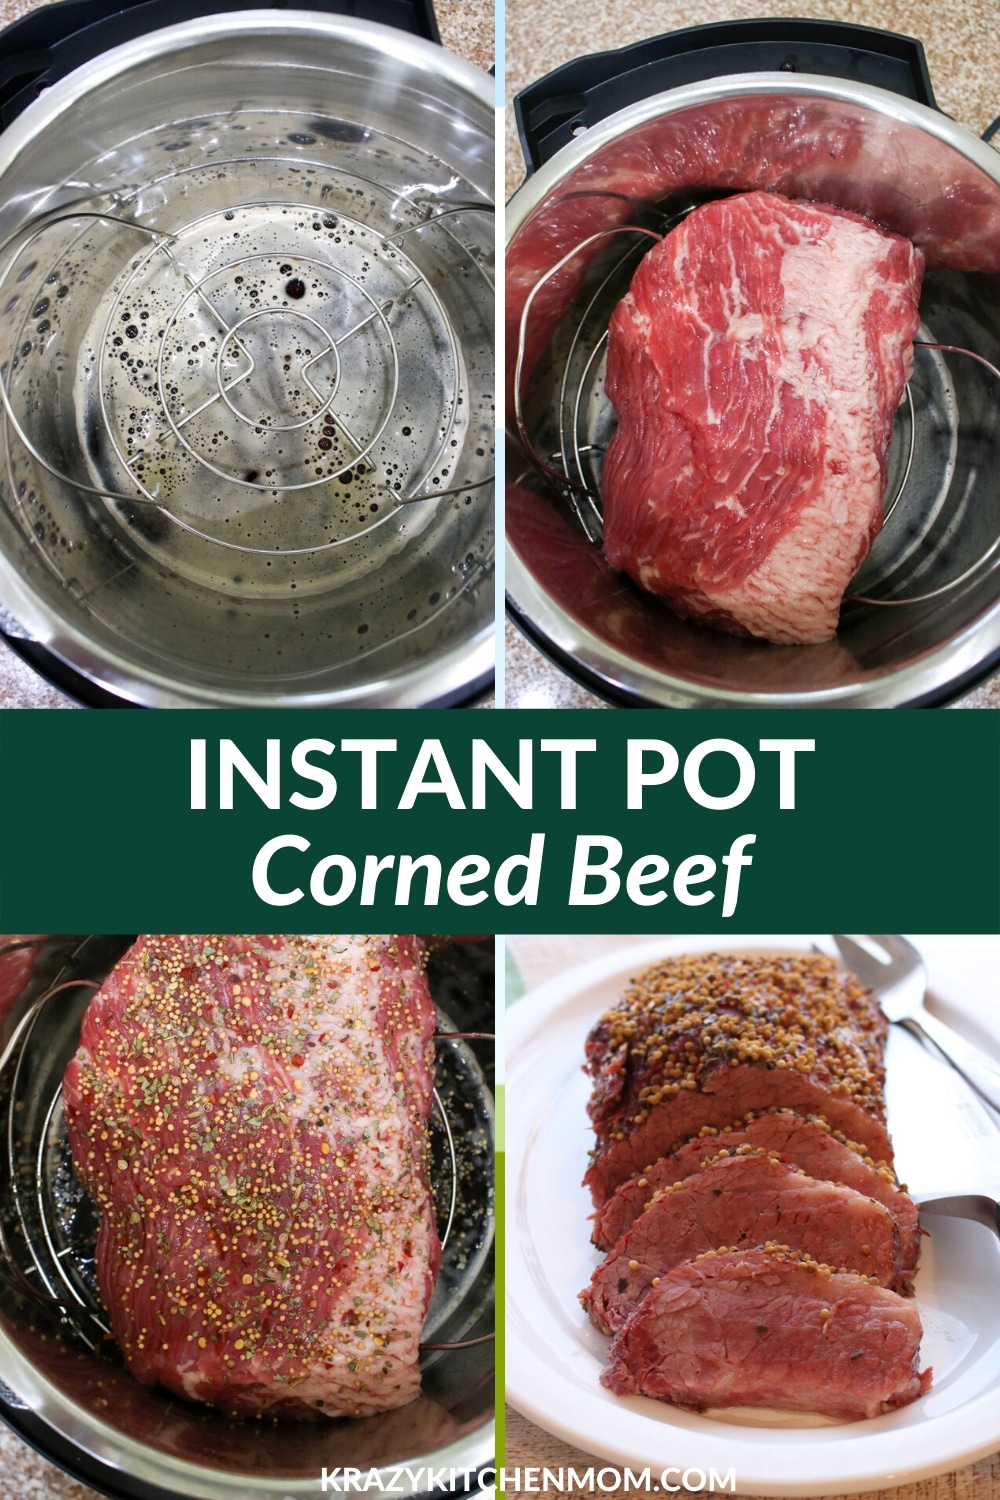
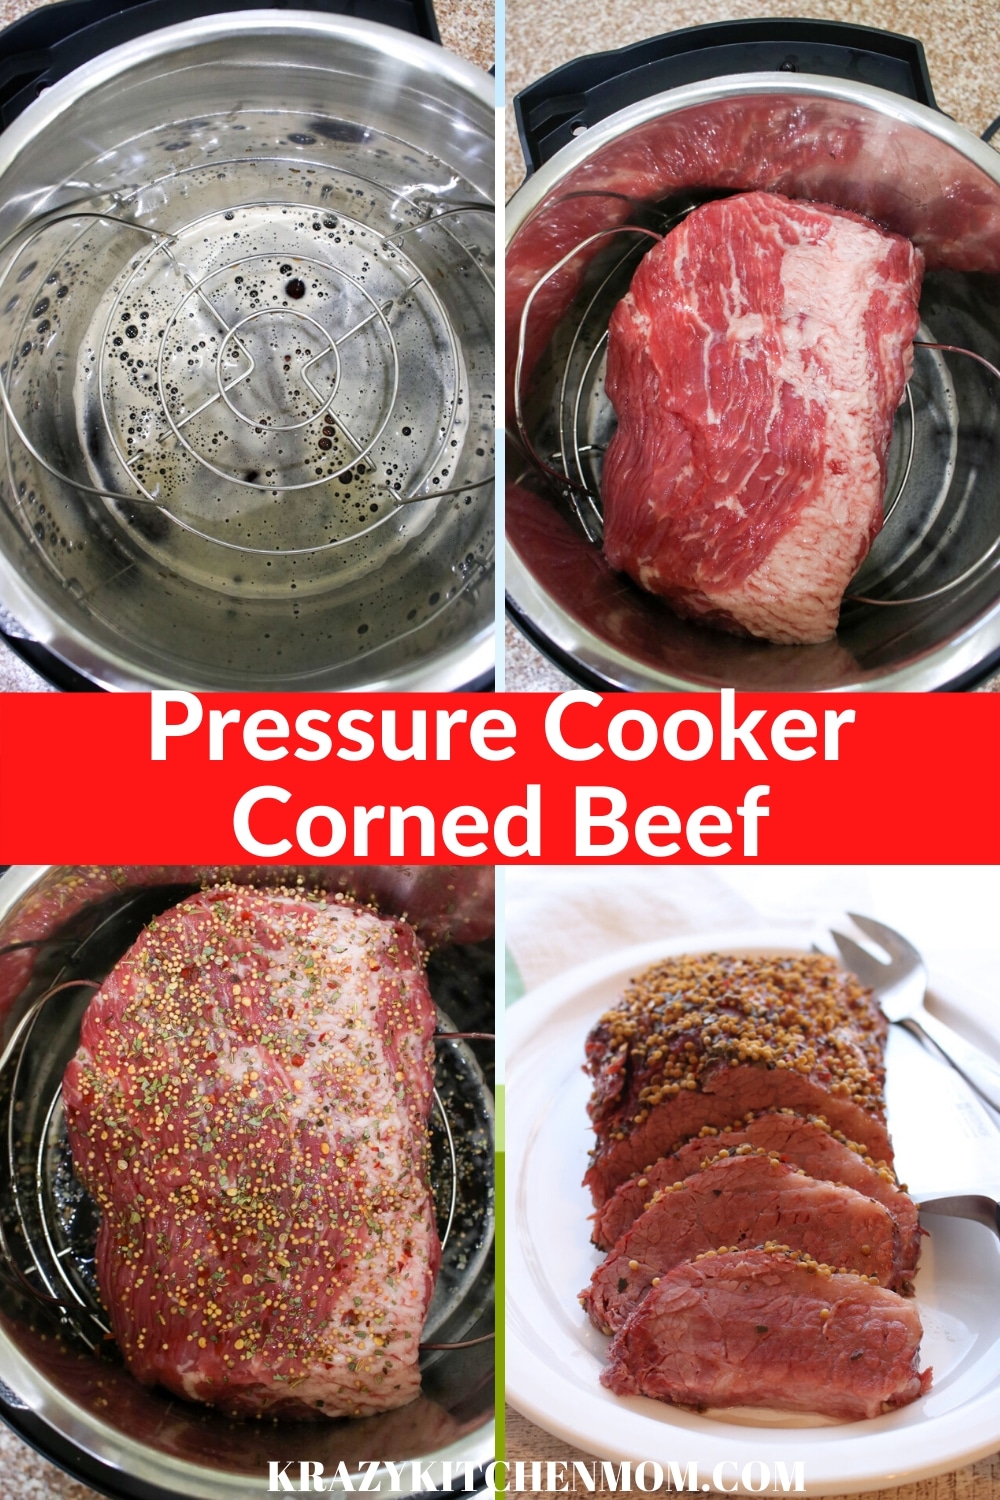
Let’s Make Pressure Cooker Corned Beef
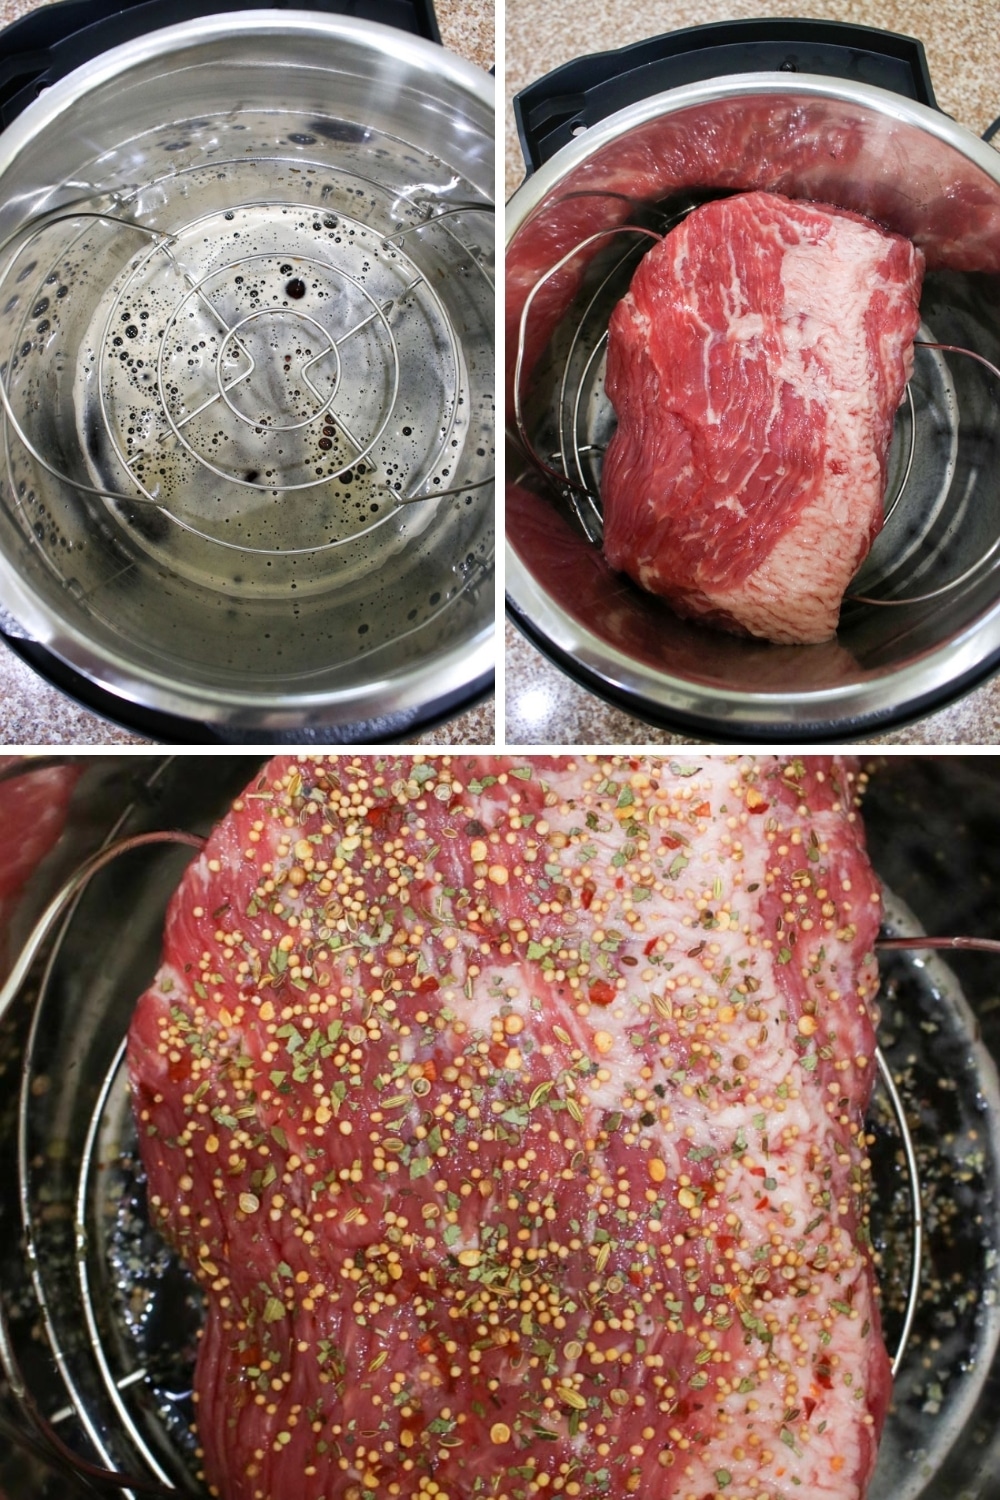
- Add beer to the inner pot of the pressure cooker.
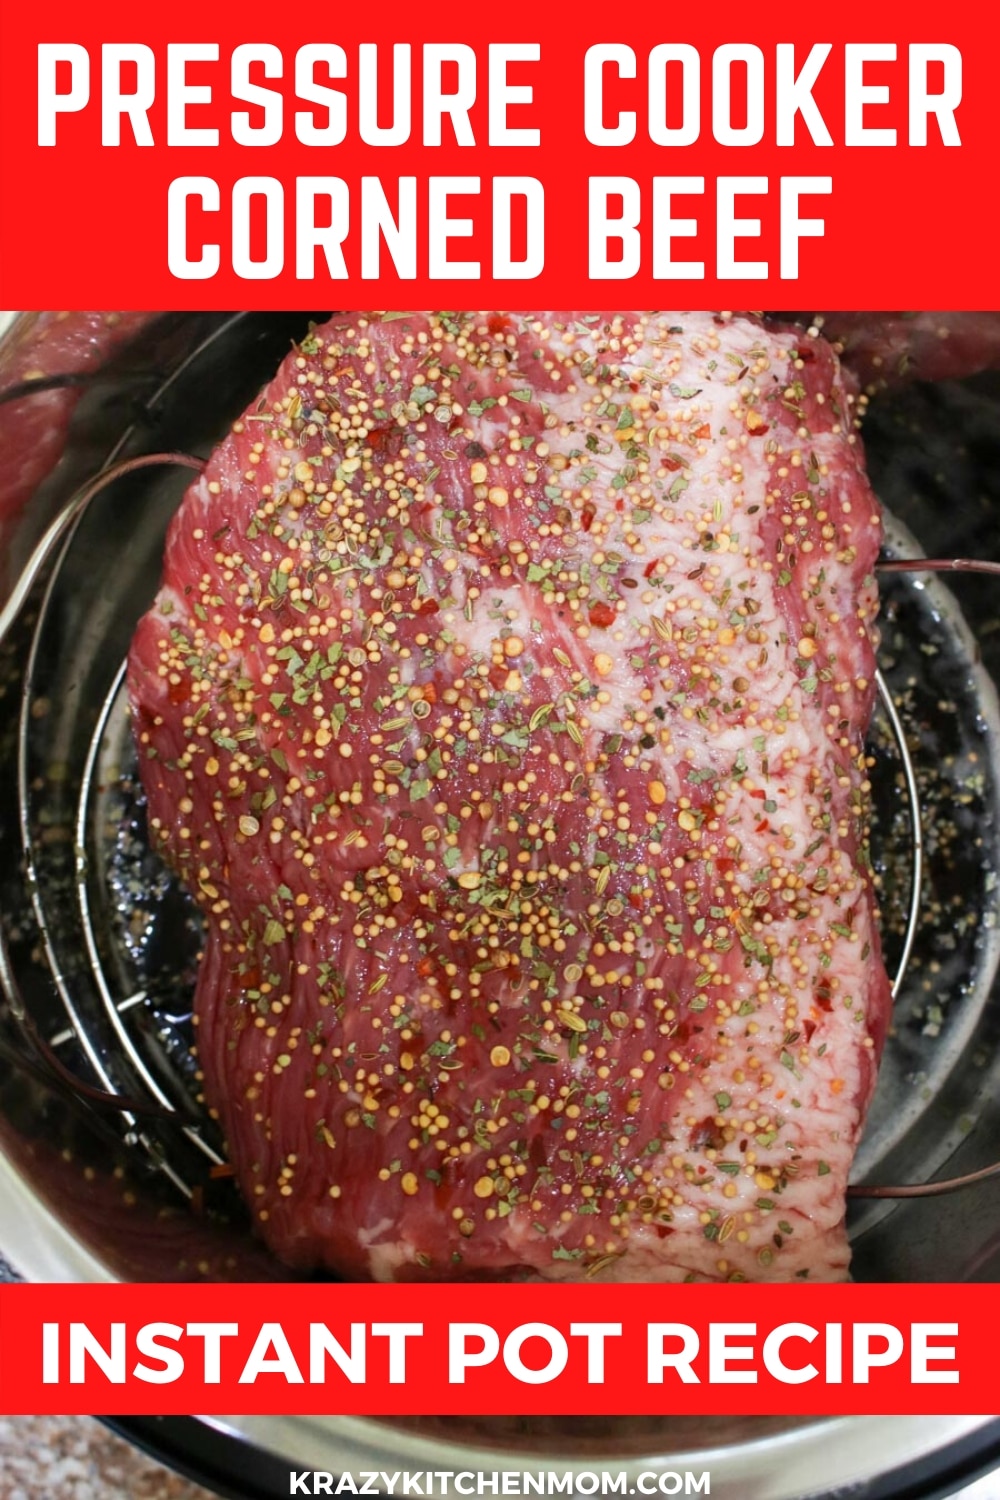
- Place corned beef on top of a wire rack.
- Sprinkle the top of the meat with half of the seasoning packet.
- Pour the remaining seasonings into the beer.
- Cook on the meat setting for 90 minutes.
- Allow the steam to release naturally for 2-3 minutes, then self-release.
Reader Questions
YES! The Instant Pot is just a specific brand of pressure cooker. Just follow the recipe in the post for the perfect Instant Pot Corned Beef.
No worries! You can make your own. Just combine the ingredients listed below and sprinkle them on top of the brisket.
1 TBS pickle seasoning
1 teaspoon garlic powder
1 teaspoon onion powder
There are two schools of thought regarding rinsing the corned beef before cooking it. The first is to rinse the brisket with water to remove the excess salt from the curing process. The second is not to rinse the brisket. I choose the second method. I do not rinse the corned beef because I think it washes away the deep flavors of the corned beef. You can try it both ways and decide what’s best for you.
Krazy Kitchen Mom Tips
- Add Flavorful Ingredients: Enhance the taste of your pressure cooker corned beef by adding aromatic ingredients like garlic, bay leaves, and peppercorns to the cooking liquid. These additional elements infuse the meat with extra layers of flavor during the pressure cooking process.
- Use a Trivet for Better Results: Placing a trivet at the bottom of the pressure cooker prevents the corned beef from sticking to the surface and facilitates even cooking. Elevating the meat allows for better circulation of steam and ensures consistent tenderness.
- Natural Release for Texture: After pressure cooking, allow the cooker to naturally release pressure for a few minutes before manually releasing any remaining pressure. This helps the corned beef retain its juices and maintain a more desirable texture.
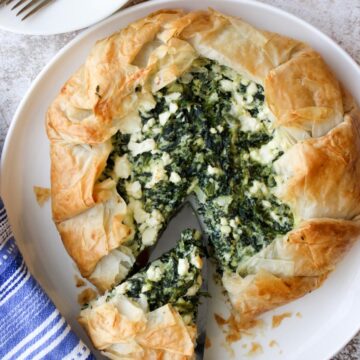
More KKM Recipes Using Corned Beef
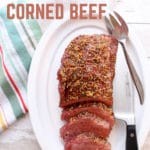
Pressure Cooker Corned Beef
Ingredients
- 3 1/2 lbs. corned beef brisket
- seasoning packet that comes with the brisket
- 1 12 ounce bottle dark beer
Instructions
- Add beer to the inner pot of the pressure cooker.
- Place a wire rack into the pressure cooker pot.
- Place corned beef on top of a wire rack.
- Sprinkle the meet with 1/2 of the seasoning or seasoning packet.
- Pour the remaining seasonings into the beer liquid.
- Cook on meat setting for 90 minutes.
- Allow the steam to release naturally for 2-3 minutes, then self-release.
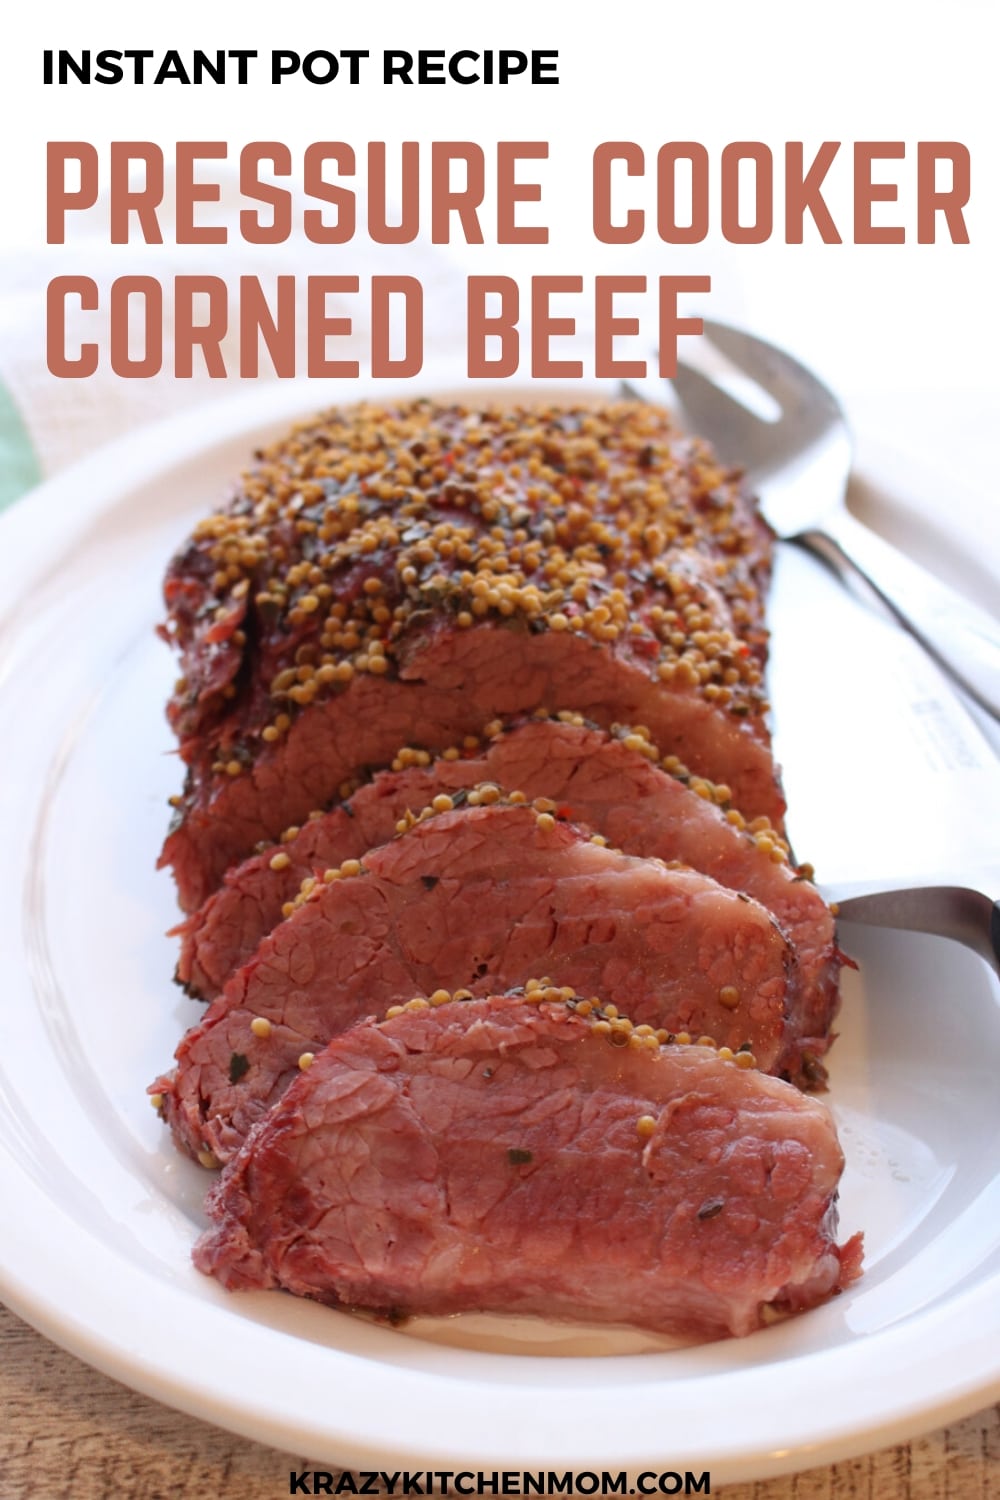
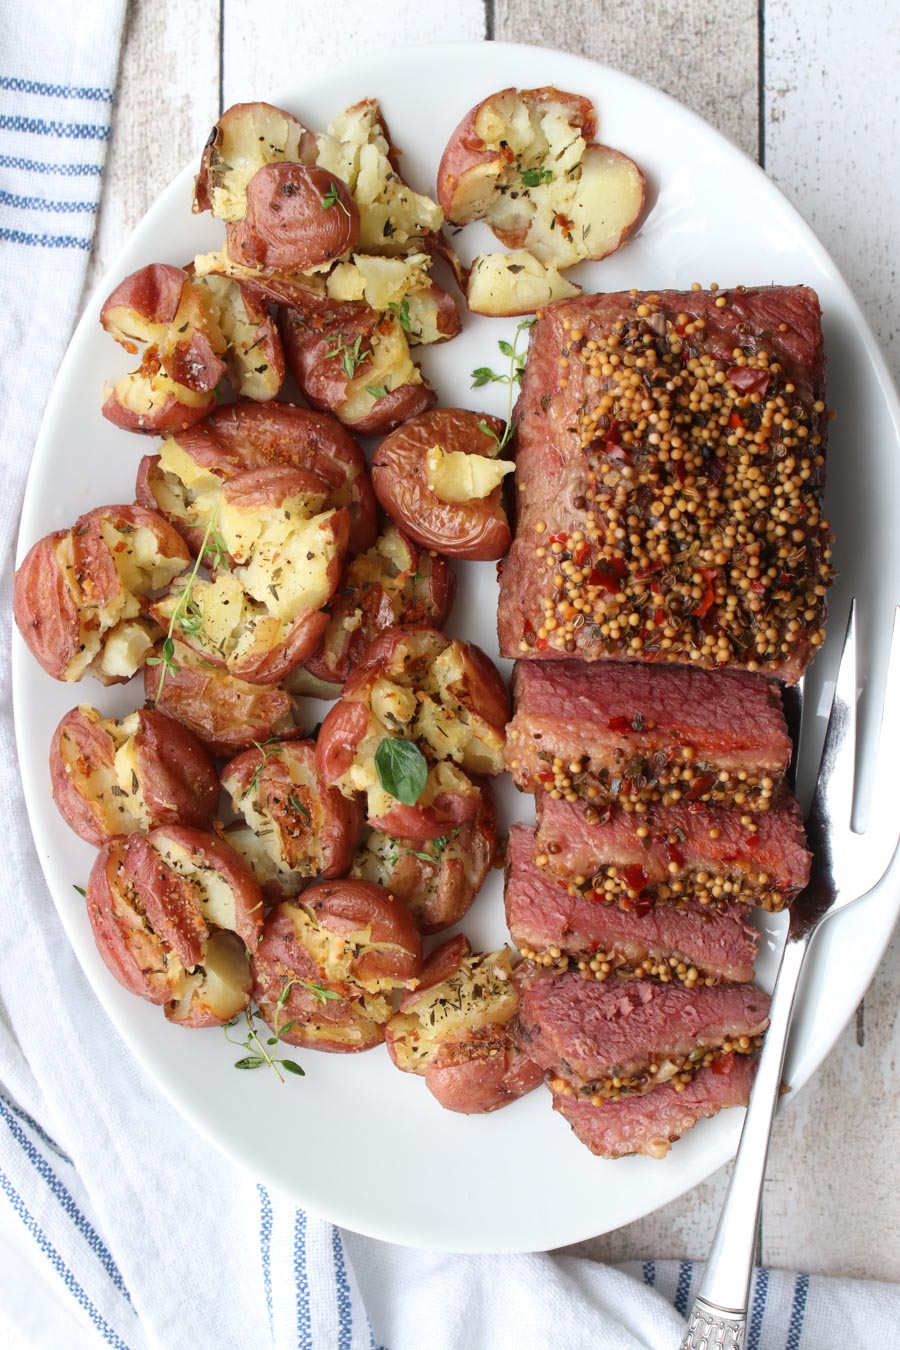
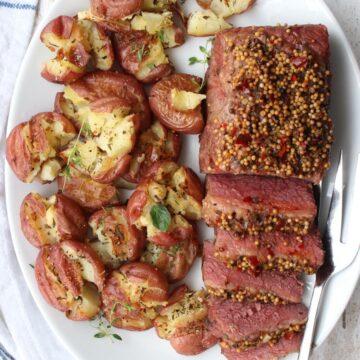
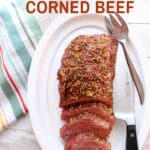
- Remove the corned beef to a cutting board.
- Slice off any excess fat on top.
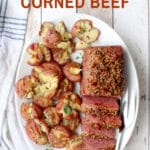
- Slice and serve.
Notes
- Add Flavorful Ingredients – Enhance the taste of your pressure cooker corned beef by adding aromatic ingredients like garlic, bay leaves, and peppercorns to the cooking liquid. These additional elements infuse the meat with extra layers of flavor during the pressure cooking process.
- Use a Trivet for Better Results – Placing a trivet at the bottom of the pressure cooker prevents the corned beef from sticking to the surface and facilitates even cooking. Elevating the meat allows for better circulation of steam and ensures consistent tenderness.
- Natural Release for Texture – After pressure cooking, allow the cooker to naturally release pressure for a few minutes before manually releasing any remaining pressure. This helps the corned beef retain its juices and maintain a more desirable texture.
If you make this recipe, show me a pic! You can upload your photo to your Instagram account and tag me @krazykitchenmom


Leave a Reply