
This post may contain affiliate links which won’t change your price but will share some commission.
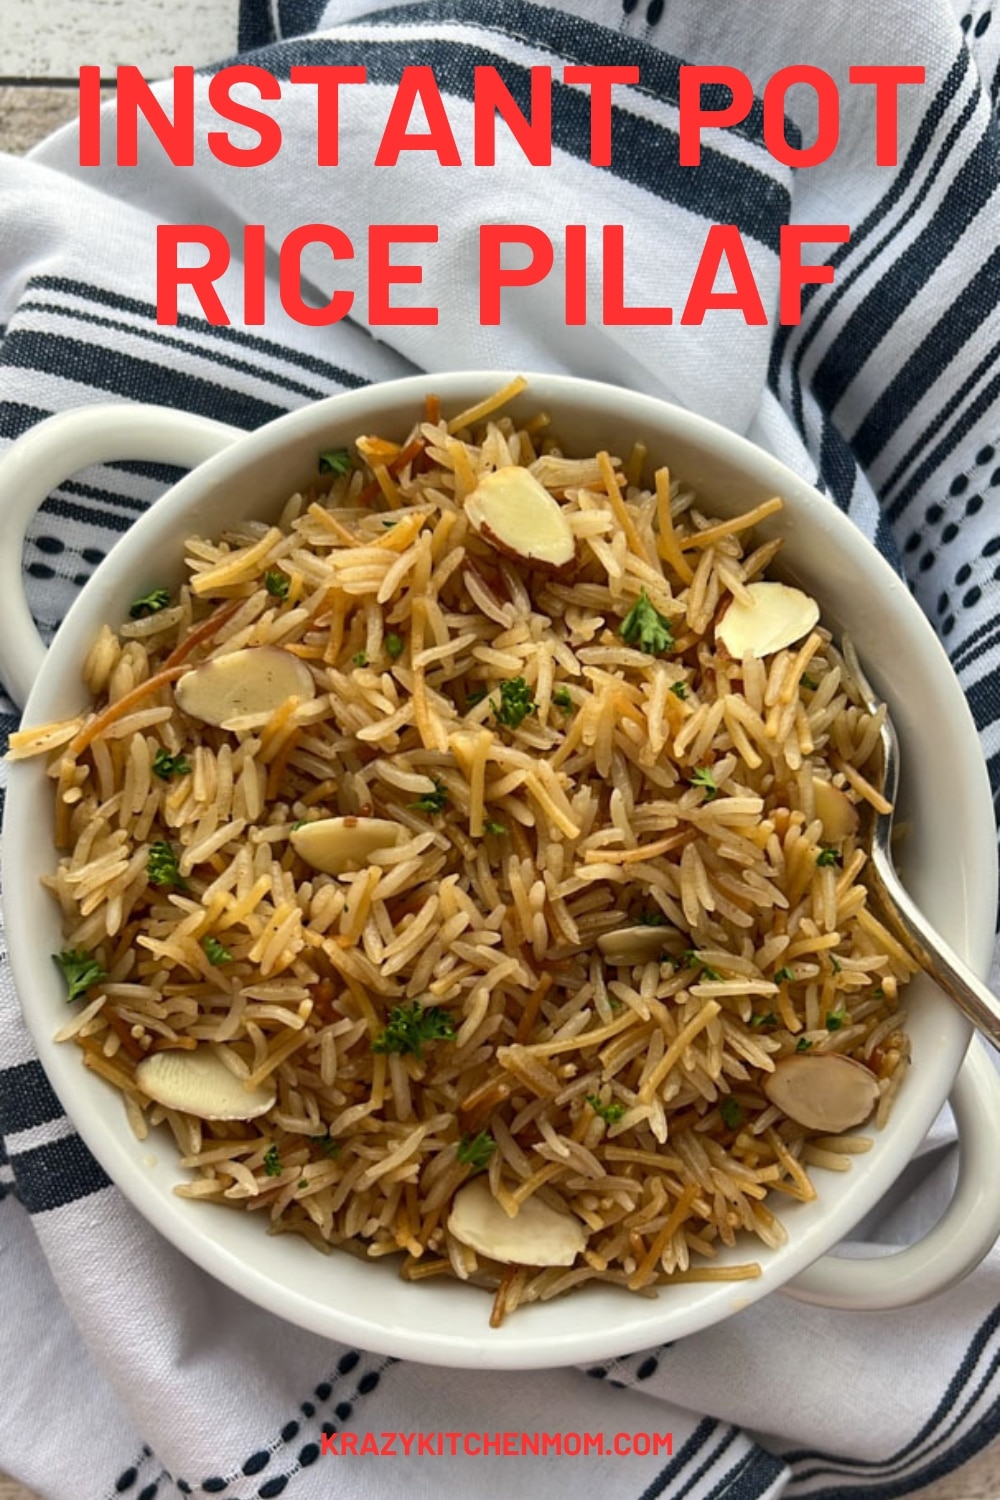
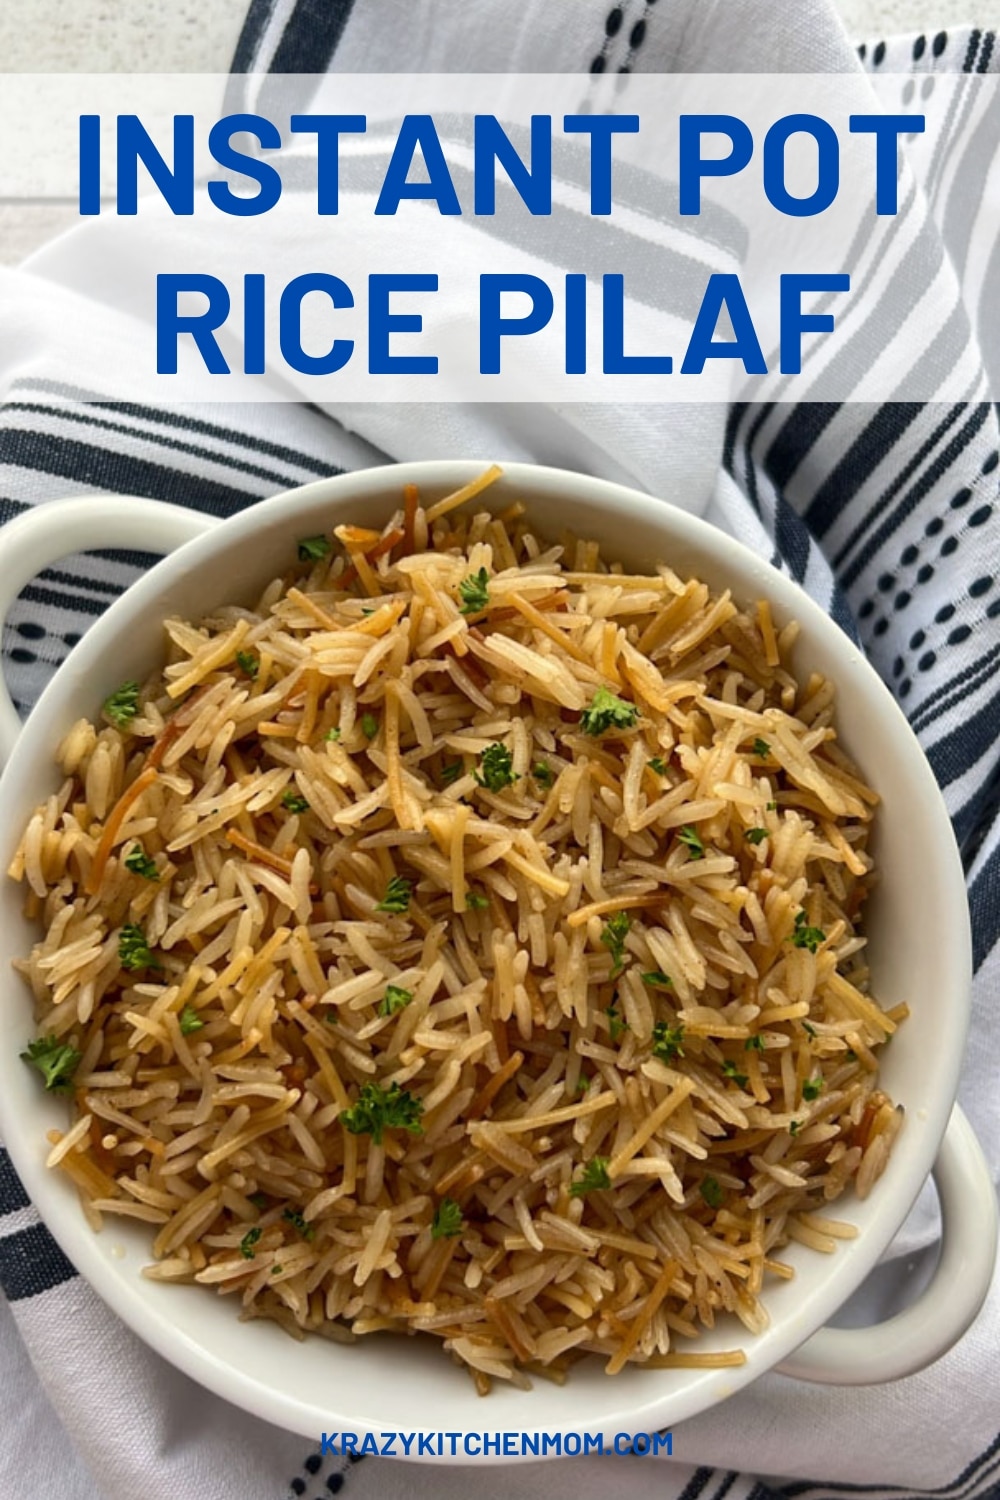
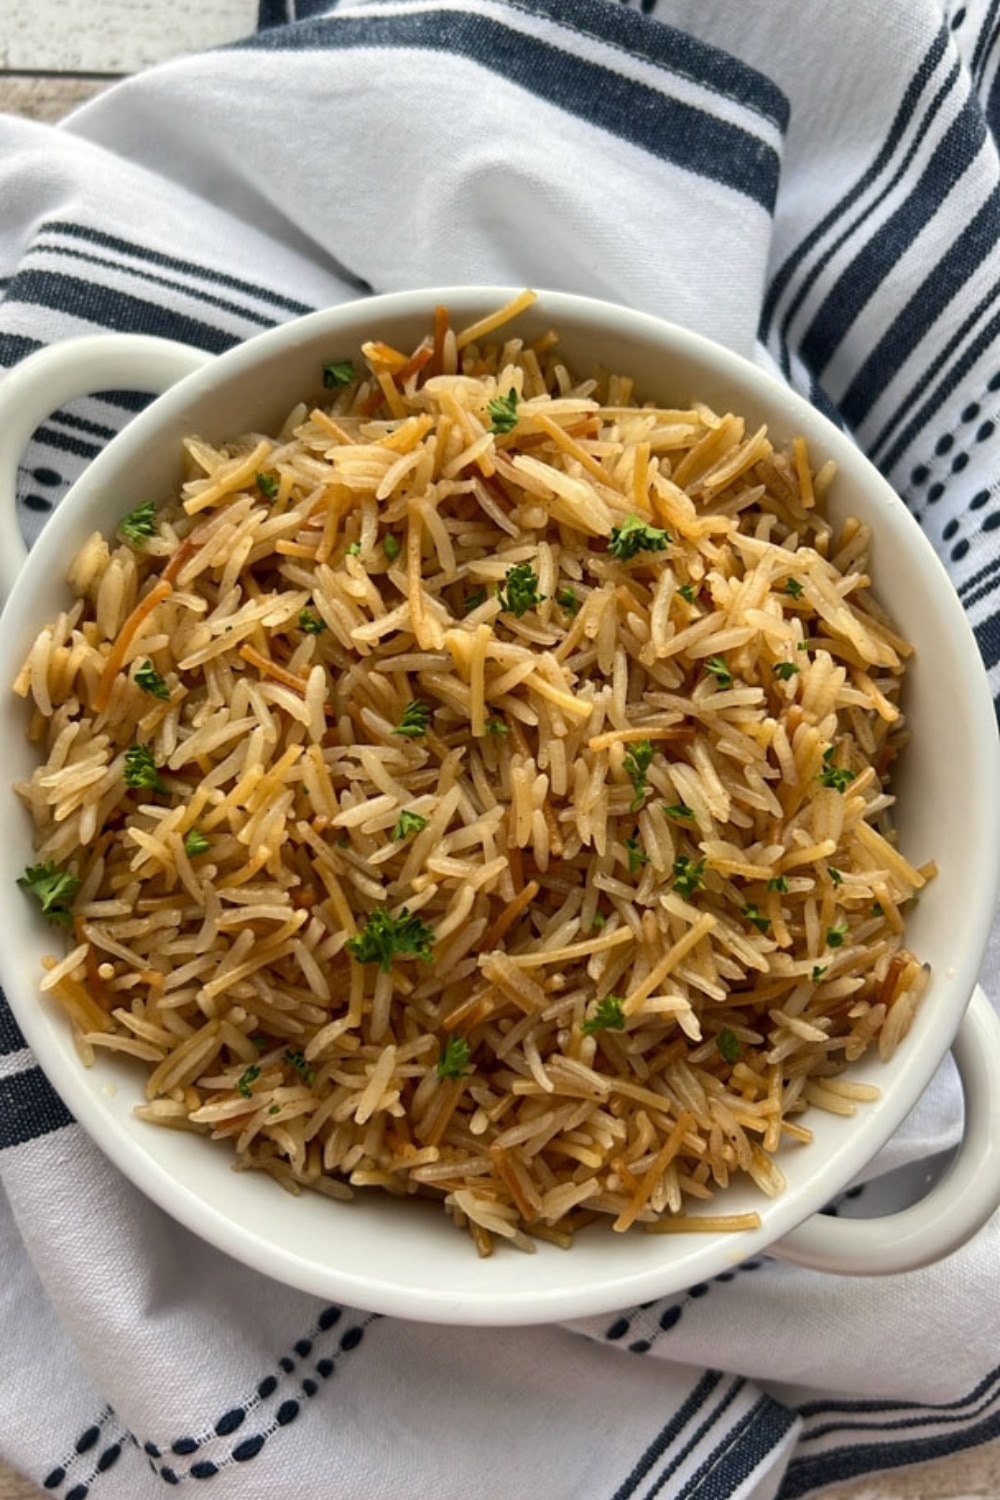
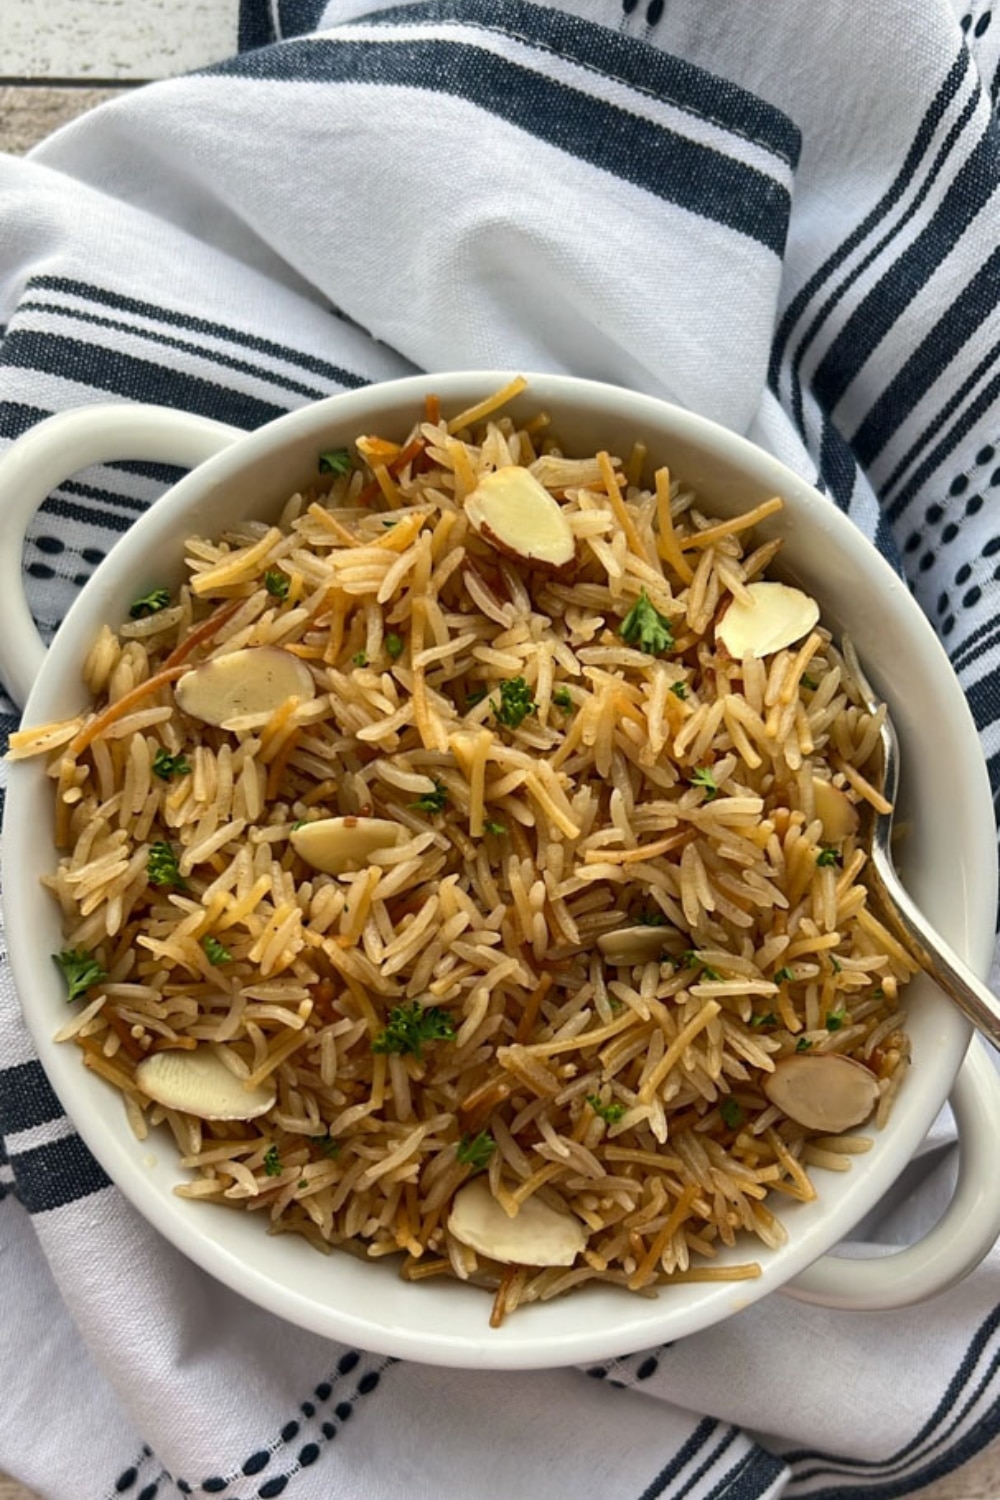
This one-pot nutty rice pilaf combines perfectly cooked rice with aromatic spices and nutty butter, delivering a fragrant and flavorful side dish that’s both convenient and delicious.
Why We Love This Recipe
- Effortless – Instant Pot rice pilaf takes the hassle out of achieving perfectly cooked rice. With the push of a button, you get consistently fluffy grains infused with the delightful flavors of the accompanying herbs and spices.
- Time-Saver – Say goodbye to long stovetop waits – the Instant Pot or any brand of electric pressure cooker significantly reduces cooking time, making rice pilaf a quick and convenient side dish for busy days without compromising on taste or texture.
- Versatile – The Instant Pot’s sealed environment allows rice to absorb the rich aromas of herbs and spices, creating a versatile canvas for various cuisines. Customize your pilaf with different seasonings to suit your taste preferences.
Ingredients
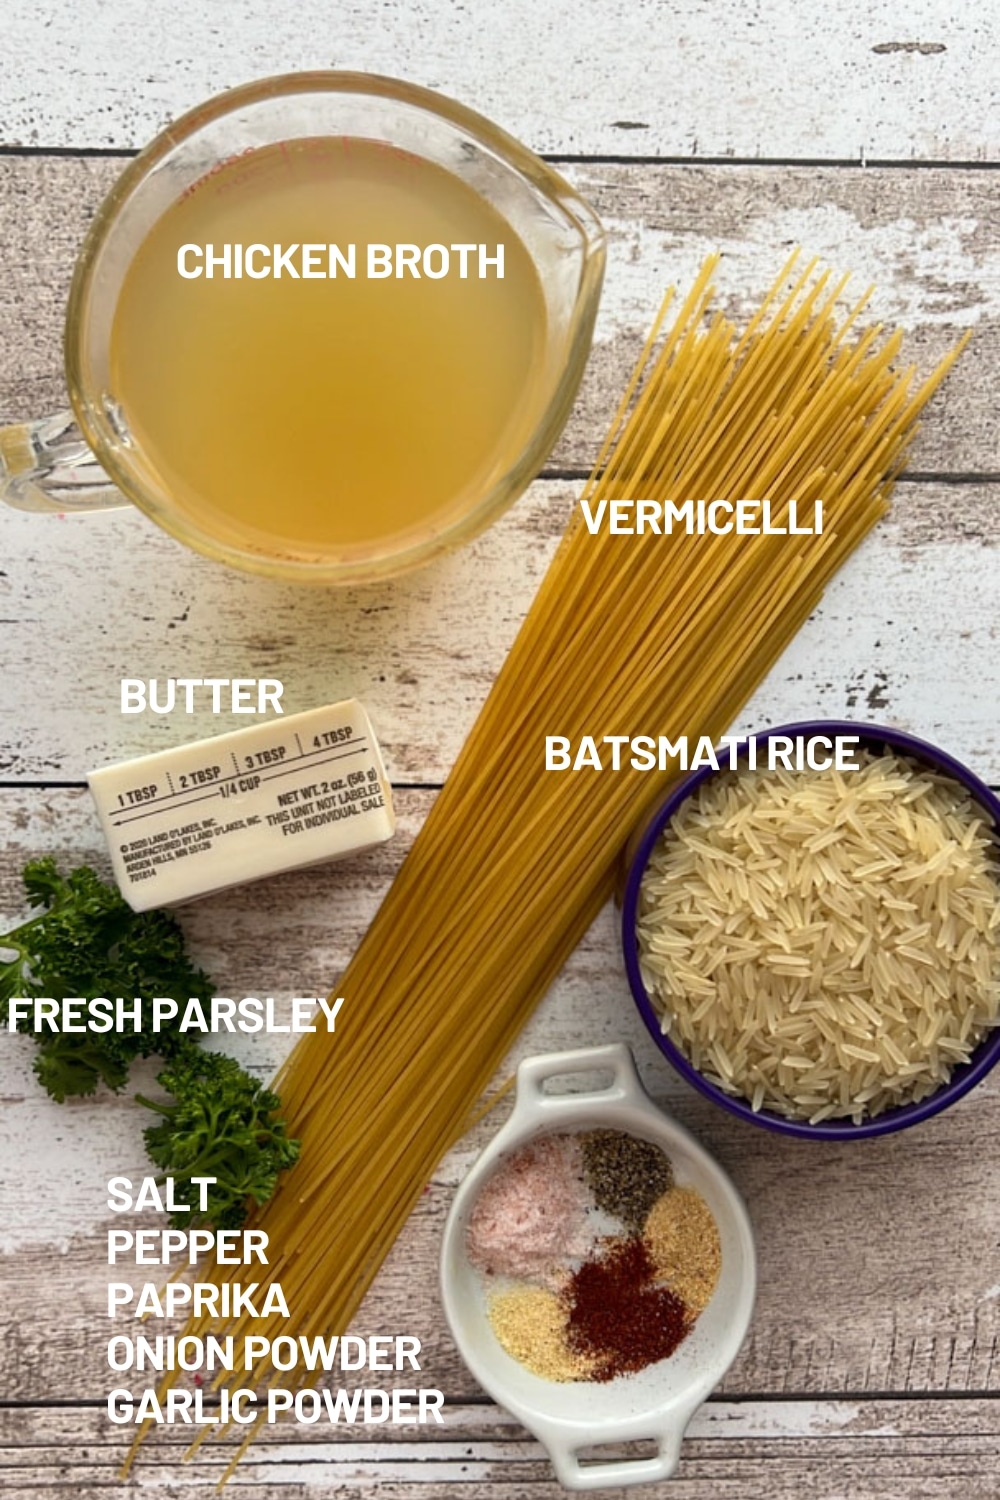
- 3 tbsp butter
- 1/3 cup vermicelli pasta (can substitute with orzo or angel hair pasta)
- 1 cup basmati rice
- 1 cup chicken broth (can substitute with water)
- ¼ teaspoon paprika
- ¼ teaspoon onion powder
- ¼ teaspoon cracked black pepper
- 1 tbsp garlic powder
- ¾ tbsp sea salt or pink sea salt
- 1 tbsp fresh chopped parsley for finishing (optional)
- ¼ cup toasted almonds (optional)
Let’s Make Instant Pot Rice Pilaf
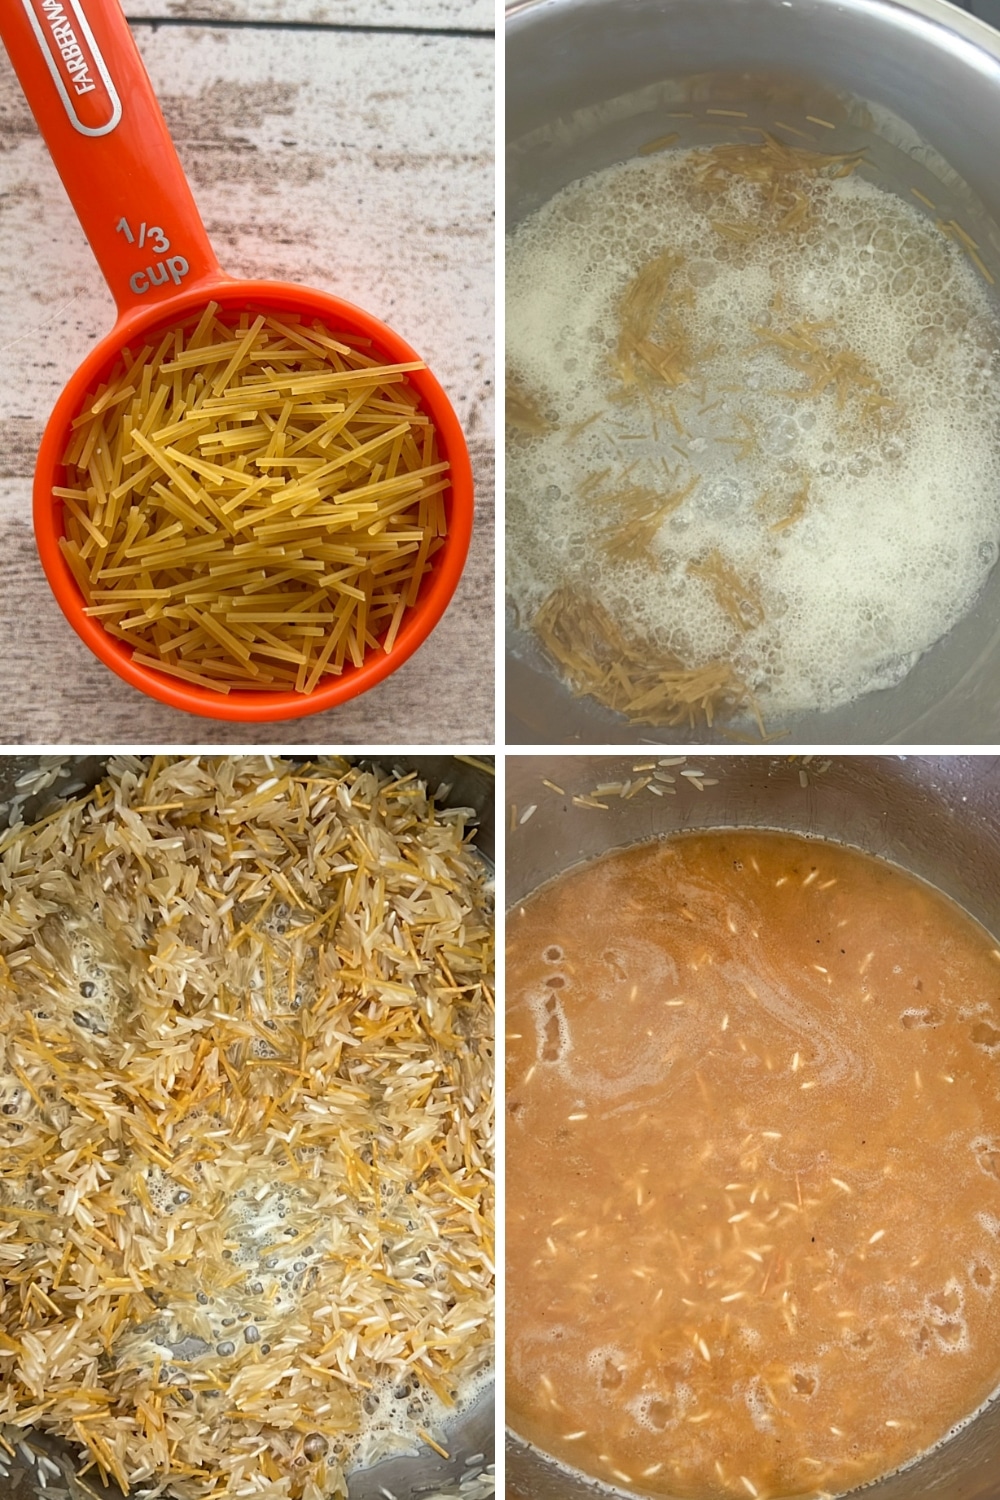
- Break vermicelli pasta into small pieces until you have 1/3 cup.
- Turn on the pressure cooker and set it to “sauté”. Allow the bowl to get hot for 2 minutes.
- Add the butter.
- When the butter is melted, add the vermicelli and brown for 2-3 minutes.
- Once the vermicelli is brown, add the rice, stir to combine, and cook it for 2-3 minutes.
- Add the spices, stir, to combine, and continue to sauté for 1 minute.
- Add the chicken broth (or water), place the lid on the pressure cooker, and set it to “rice” mode.
- Allow it to cook and self-release steam naturally.
- Open the lid and transfer to a serving dish, finish with chopped parsley.
Krazy Kitchen Mom Tips
- Proper Liquid Measurement is a must – Achieve the ideal texture by accurately measuring the liquid for your rice pilaf. Follow the Instant Pot guidelines for the specific rice variety and consider using broth for added flavor depth.
- Using Sauté Mode – Sauté mode on a pressure cooker allows you to elevate the flavors and textures and provides for an enhanced taste and balanced dish.
- Using Natural Release – After cooking, allow the Instant Pot to naturally release pressure for a few minutes before opening. This gradual release contributes to the rice’s fluffiness and prevents a mushy consistency.

Instant Pot Rice Pilaf
This one-pot nutty rice pilaf combines perfectly cooked rice with aromatic spices and nutty butter that's both convenient and delicious.
Print
Pin
Rate
Servings: 3 cups
Ingredients
- 3 tbsp butter
- 1/3 cup dry vermicelli pasta (can substitute withorzo or angel hair pasta)
- 1 cup basmati rice
- 1 cup chicken broth (can substitute with water)
- 1/4 teaspoon paprika
- 1/4 teaspoon onion powder
- 2/4 teaspoon black pepper
- 1 tbsp garlic powder
- 3/4 teaspoon sea salt or pink sea salt
- 1 tbsp fresh chopped parsley for finishing
- 1/4 cup almonds (optional)
Instructions
- Break vermicelli pasta into small pieces until you have 1/3 cup.
- Turn on the pressure cooker and set it to “sauté”.
- Allow the bowl to get hot for 2 minutes.
- Add the butter.
- When the butter is melted, add the vermicelli and brown for 2-3 minutes.
- Once the vermicelli is brown, add the rice, stir to combine, and cook it for 2-3 minutes.
- Add the spices, stir, to combine, and continue to sauté for 1 minute.
- Add the chicken broth (or water), place the lid on the pressure cooker, and set it to “rice” mode.
- Allow it to cook and self-release steam naturally.
- Open the lid and transfer to a serving dish, finish with chopped parsley.
Notes
Krazy Kitchen Mom Tips
- Proper Liquid Measurement is a must – Achieve the ideal texture by accurately measuring the liquid for your rice pilaf. Follow the Instant Pot guidelines for the specific rice variety and consider using broth for added flavor depth.
- Using Sauté Mode – Sauté mode on a pressure cooker allows you to elevate the flavors and textures and provides for an enhanced taste and balanced dish.
- Using Natural Release – After cooking, allow the Instant Pot to naturally release pressure for a few minutes before opening. This gradual release contributes to the rice’s fluffiness and prevents a mushy consistency.


Leave a Reply