This post may contain affiliate links which won’t change your price but will share some commission.
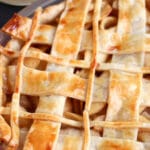
This fail-proof stove-top apple pie filling is ready in less than 30 minutes. It’s super simple, freezer-friendly, and ready for all of your holiday baking.
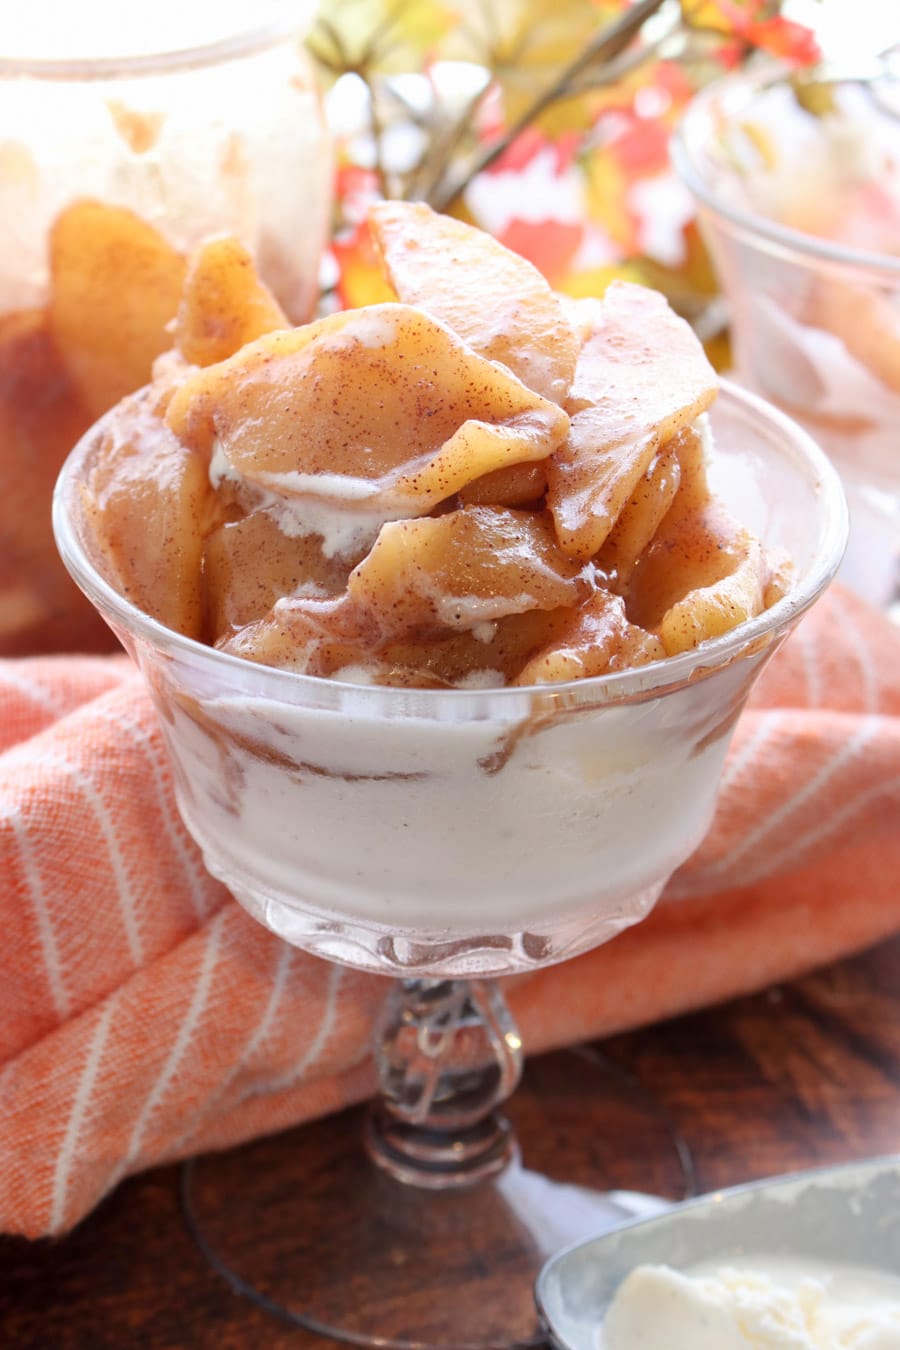
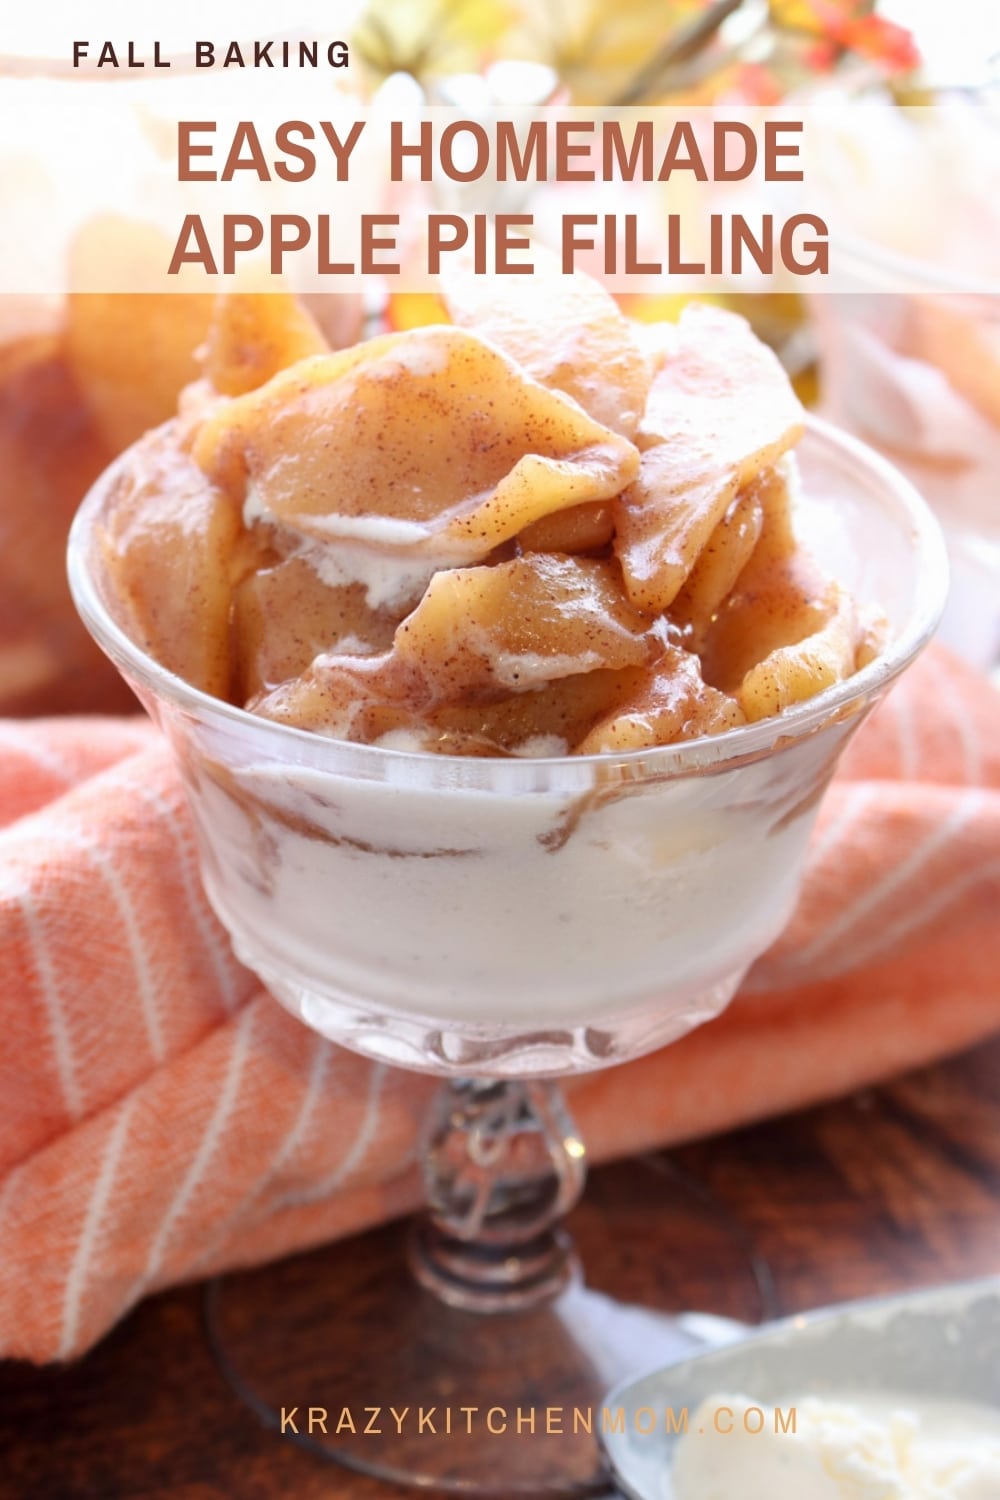
Use it for pies, tarts, over ice cream, stuffed in a danish, baked into cupcakes, and even for breakfast over hot oatmeal or tangy yogurt.
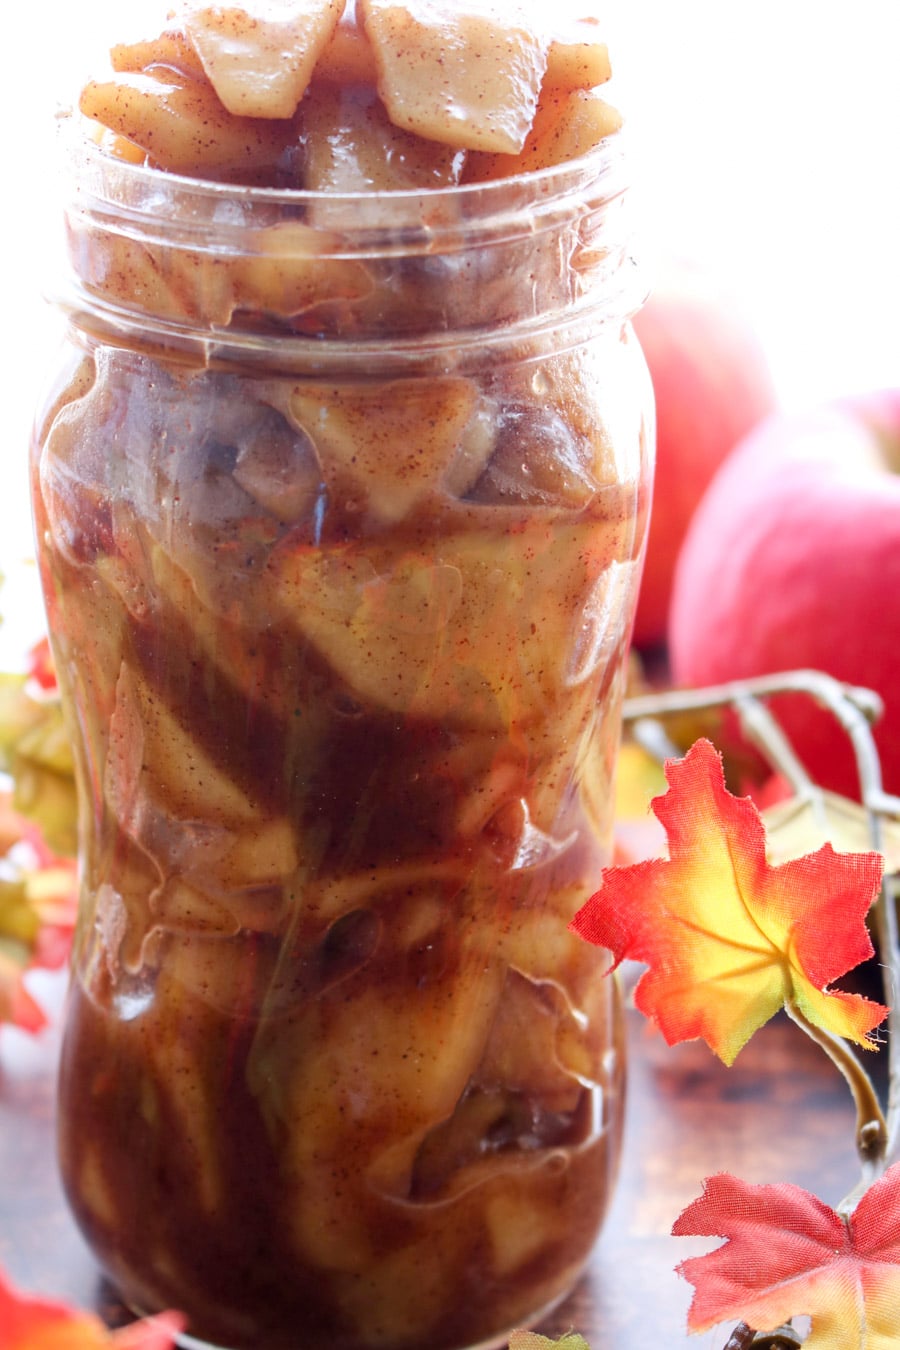
Why You Should Make This Apple Pie Filling
- I’ll be honest, I actually thought I liked canned pie fillings; they are convenient, although a bit too sweet for my taste, but I’ve never really had a problem using them. But then I started making pie filling from scratch and it changed my pie filling world.
- Simple ingredients.
- Cooks in less than 30 minutes.
- Apples are cooked yet they stay crisp.
- Freezer-friendly.
- Basically, if you can peel and slice apples, and turn on the stove top, you can make this delicious fall recipe.
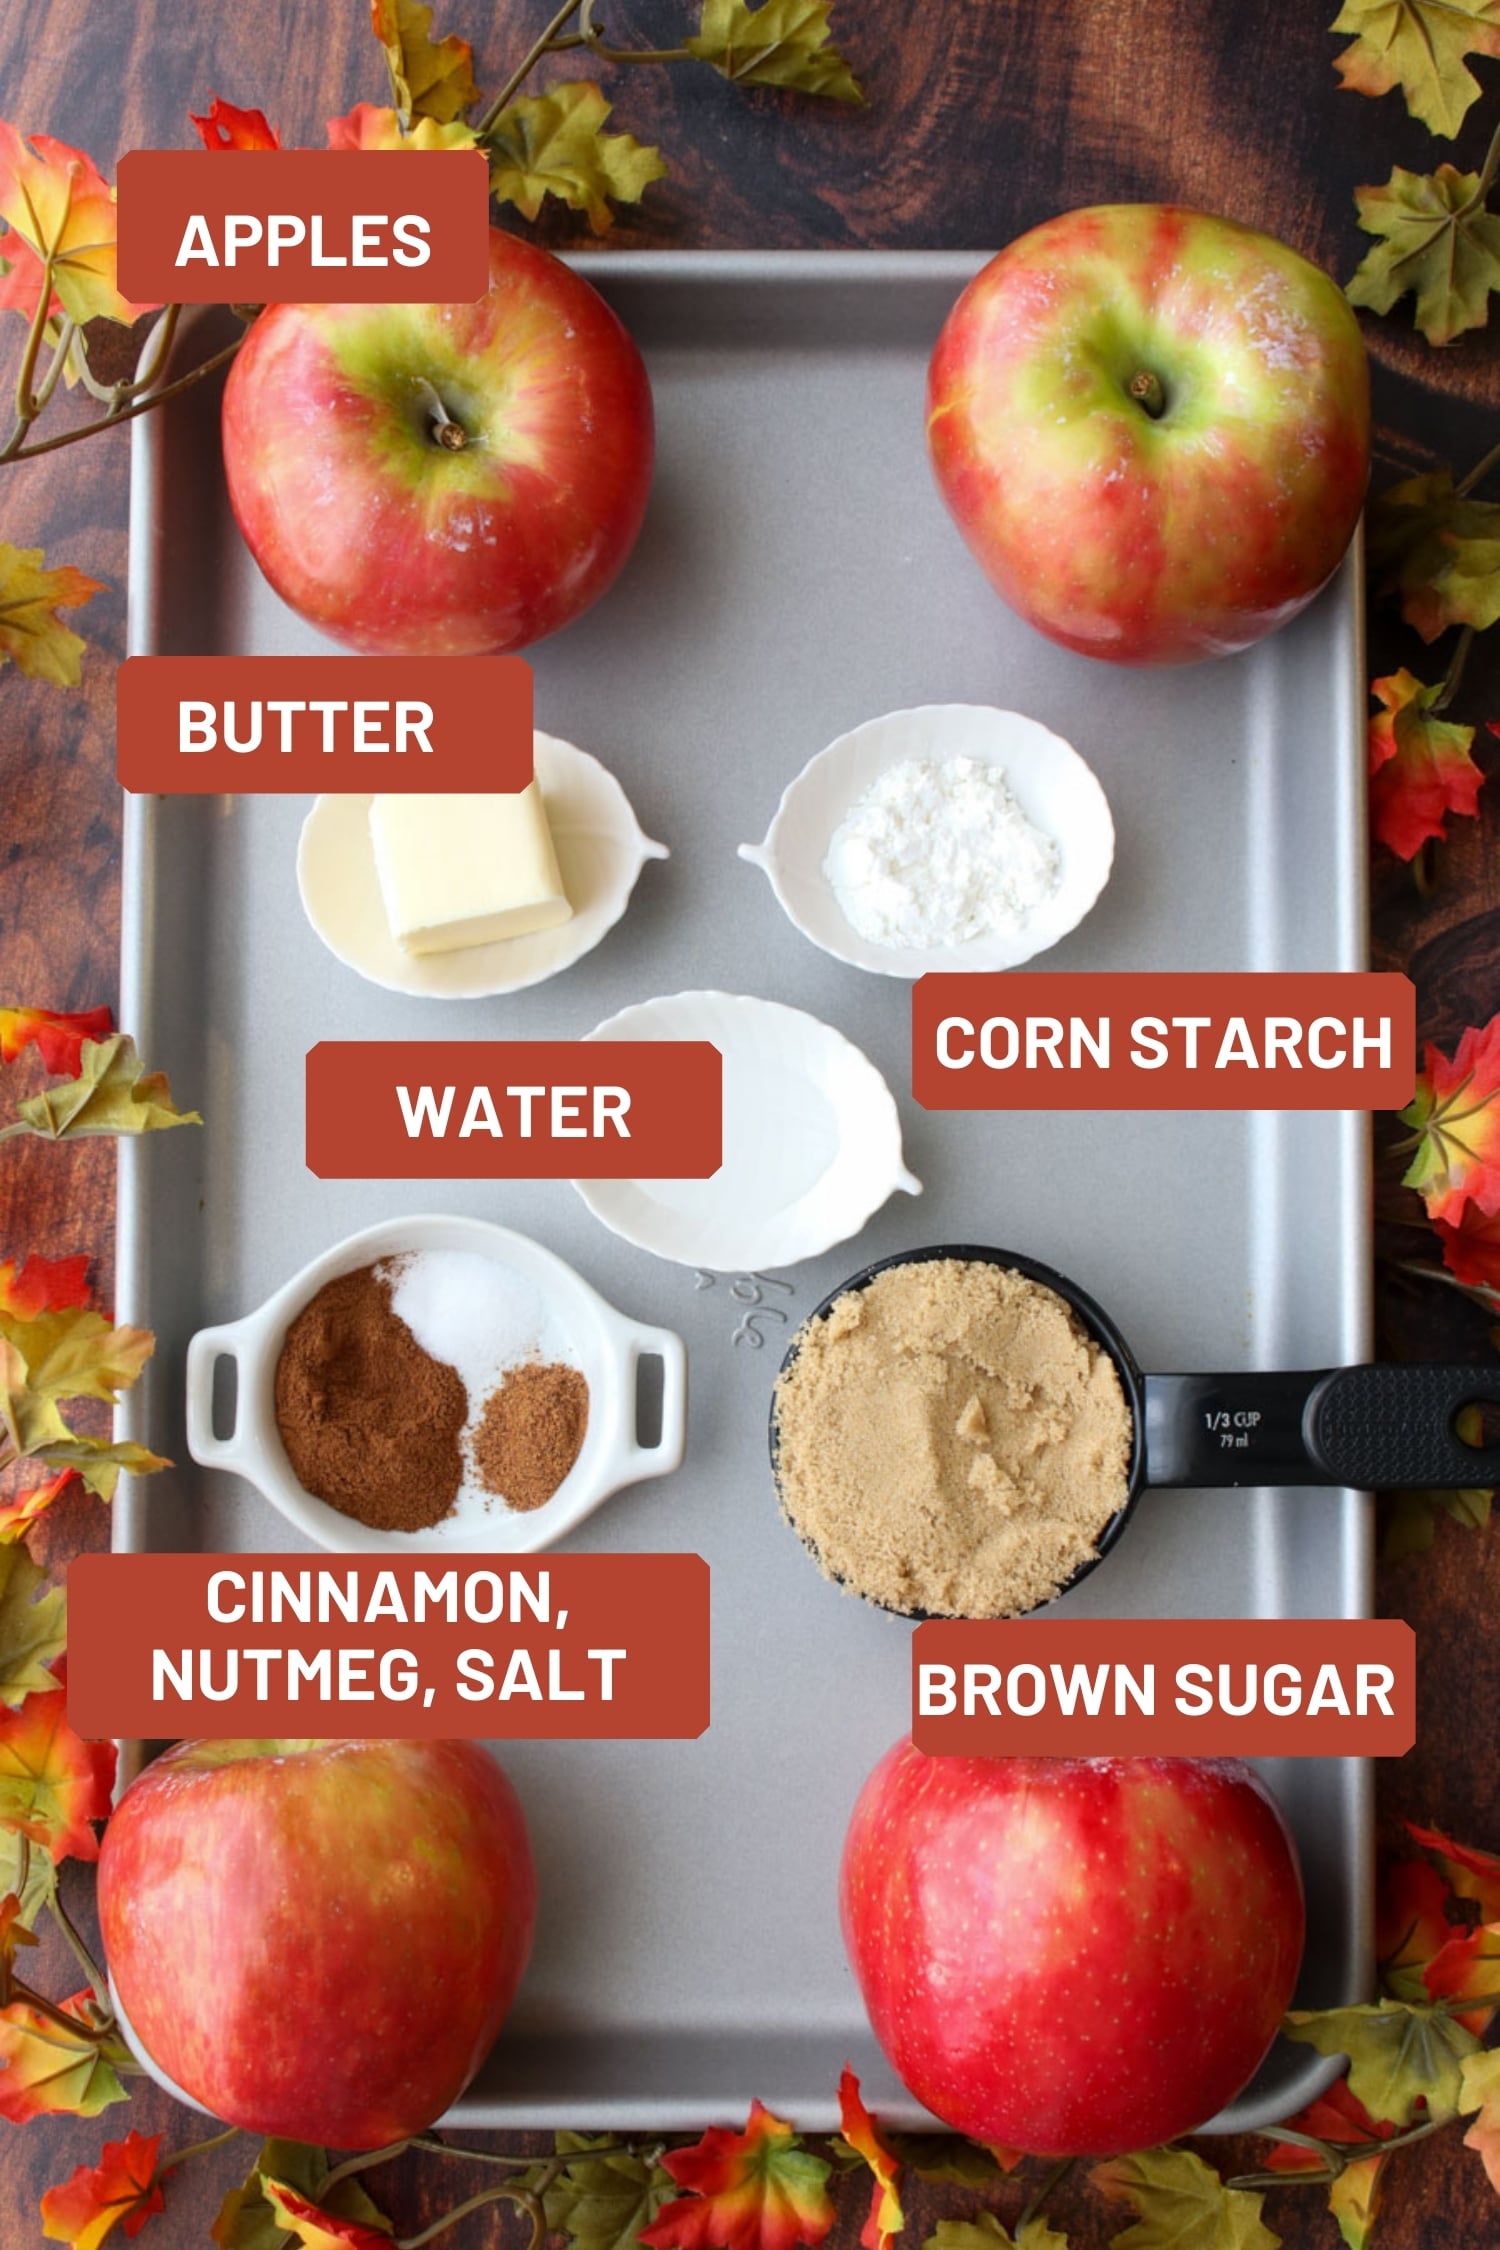
Simple Ingredients
Let’s Make This Recipe…
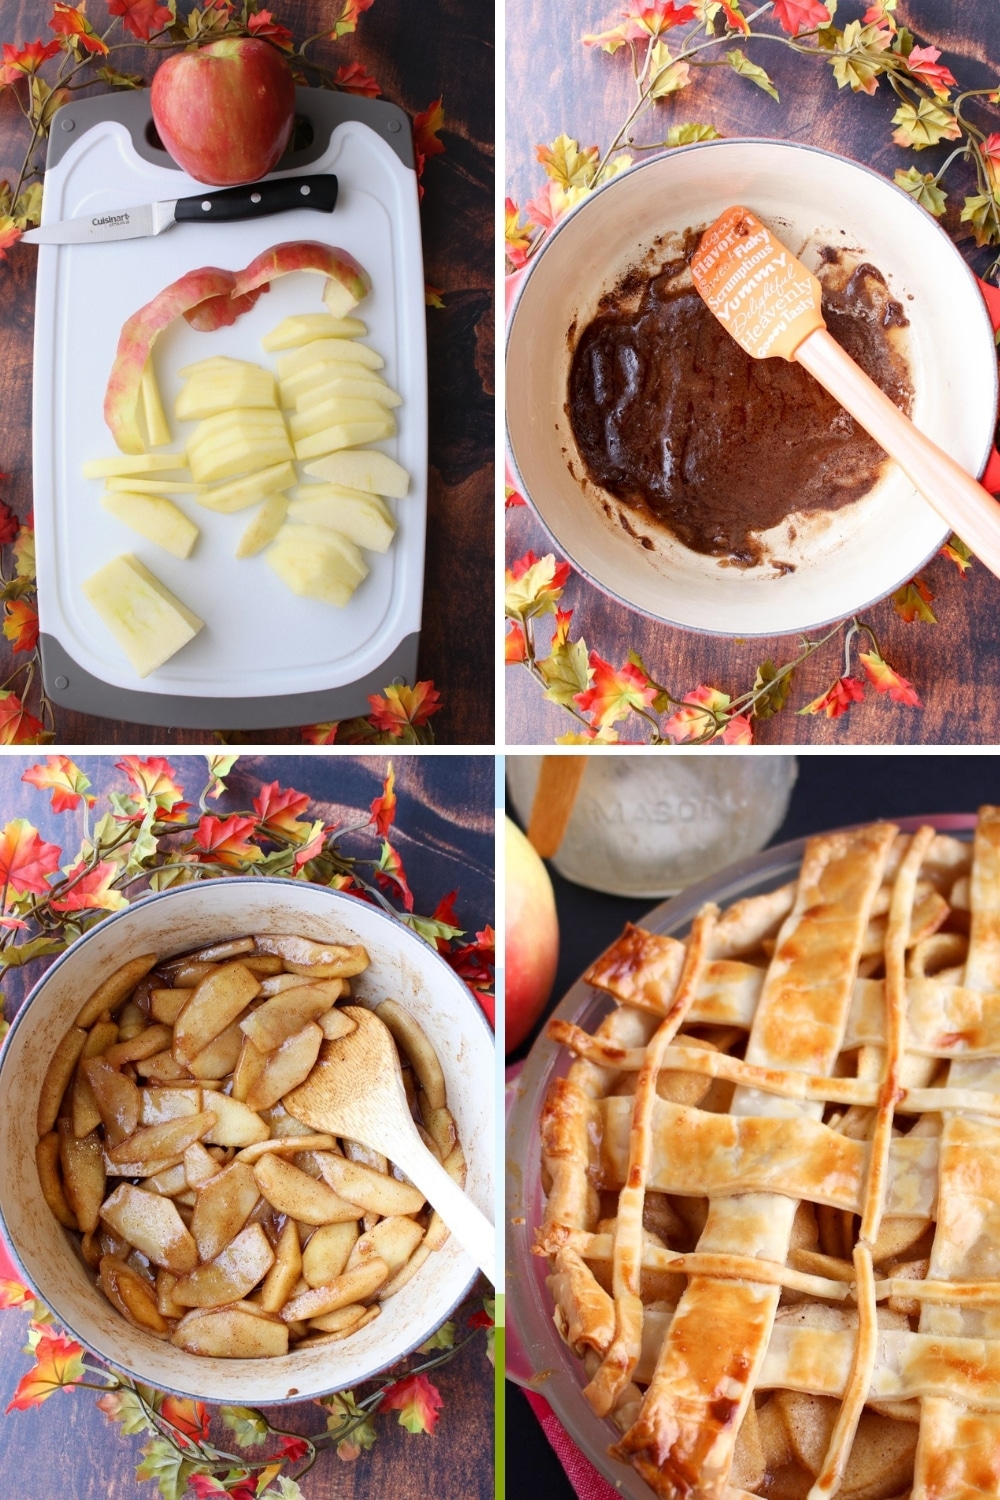
- Start by peeling and slicing the apples. You can use a potato peeler to peel the apples, but I use a paring knife the way my Mom always did. Place the apple slices in a bowl and set them aside while you prepare the sugar.
- In a large stove-top pot, melt the butter on medium-high heat.
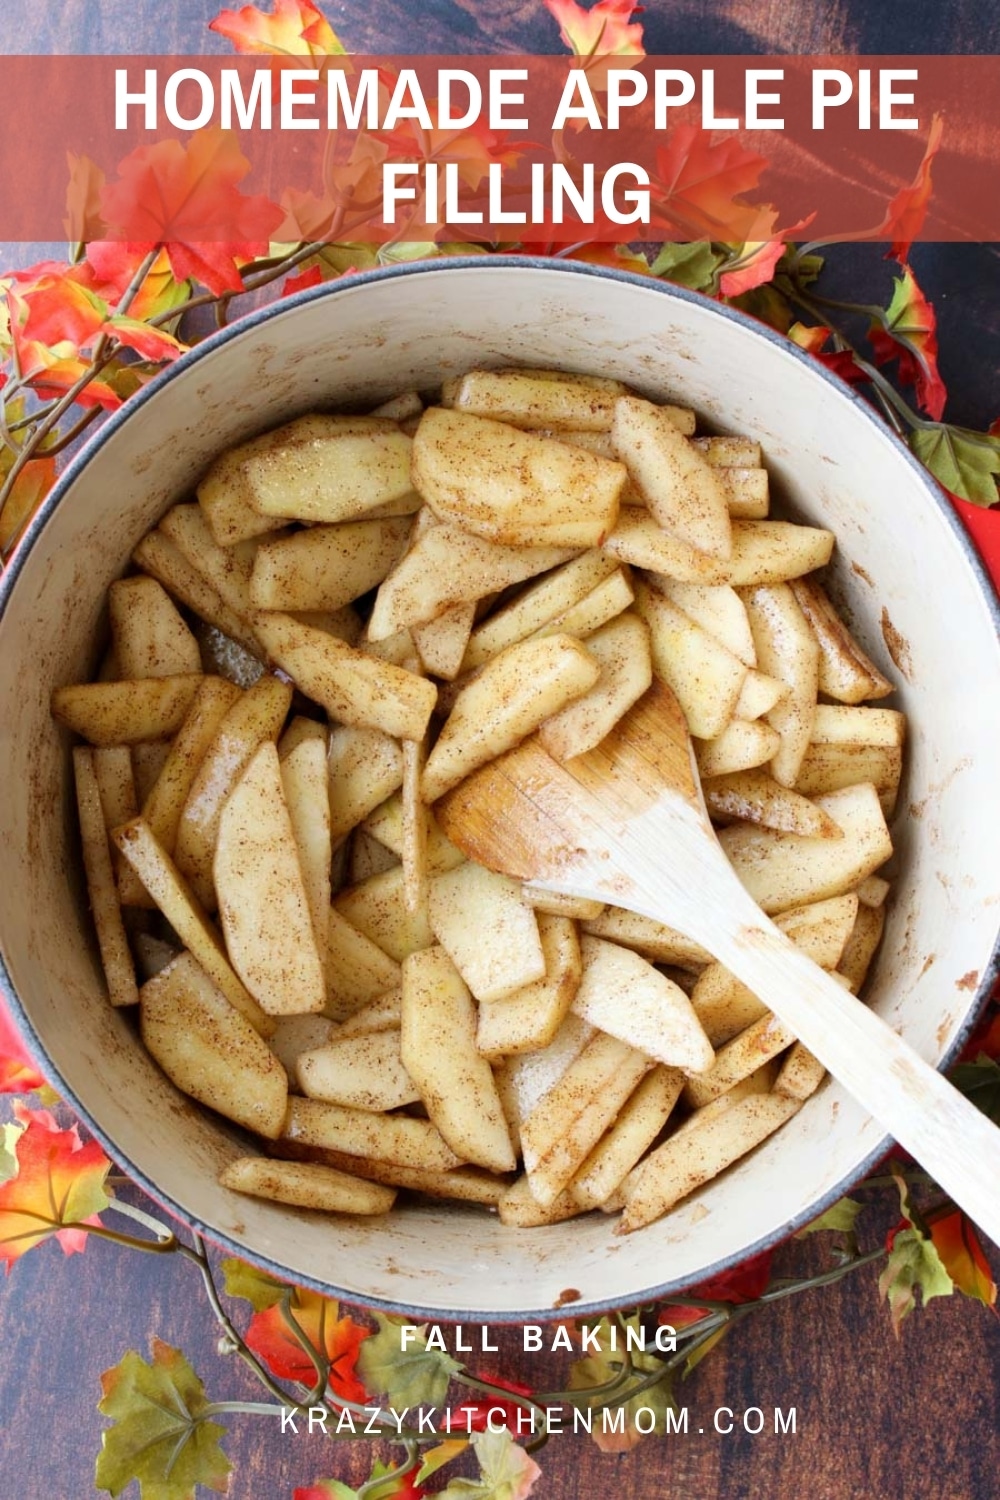
- Add the brown sugar, cinnamon, nutmeg, and salt until it is combined and become a lovely brown caramel color.
- Add the apples to the pot, stirring to coat all of the apples.
- Cook the apples on medium-high until they start to let go of some of their water and create more liquid.
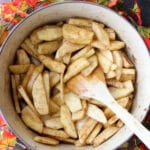
- When the liquid starts to boil (3-4 minutes), turn the heat down to low and cook the apples in the butter-sugar sauce for 15-20 minutes, stirring about 4-5 times during the cooking process.
- In a small bowl or cup, combine the cornstarch and water, stir until smooth.
- Fold the cornstarch water mix into the apples and gently stir until the sauce thickens.
- Remove from the heat and cool.
Apple Talk
Let’s talk about apples. I love fall when the markets are full of colorful bright crisp apples. But with many varieties, it’s hard to know which type of apple is best for cooking. Here are the apples my favorite apples.
- Honey Crisp Apples have a honey-sweet but nice tart flavor. With their bright white flesh, they are crispy and you get a perfect “snap” with every bite. They hold their shape and crispness when they are cooked and pair excellently with a buttery pie crust – perfect for apple pie filling.
- Pink Lady Apples are my favorite apples for slicing and eating. They are extra crispy and have a soft mellow sweet-tart flavor. Pink Lady apples go well on a cheeseboard and are perfect for snacking. They are also a great baking apple and I use them interchangeably with Honey Crisp apples for this recipe. They tend to be a bit more expensive than other apple varieties, but I think they are worth the extra cost.
- Red Delicious Apples are very common and are found in markets all year round. Their skin is tough and the flesh tends to be on the softer side compared to other apples. They have a sweeter taste and are not too tart. They are perfect for making apple sauce because they cook down easily for that silky smooth texture.
- Gala Apples remind me of Red Delicious apples. I’m sure there is some distinction but they are so close in taste and texture I think they are interchangeable.
Krazy Kitchen Mom Tips
- When slicing the apples, try to keep them all the same size so they cook evenly. If they are too thin, they will get mushy and you want to maintain some of the crispiness.
- Taste – taste – taste! Taste the apples while they are cooking and cook them until they are soft, but not mushy. For this recipe, undercooked is better than overcooked. If you do overcook the apples, it’s easy to turn this recipe into Homemade Apple Sauce.
- Try adding different seasonings and spices to give the pie filling different flavors. Some of my favorites are vanilla, ginger, or cardamom.
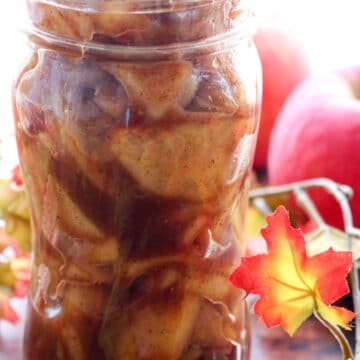
- This recipe makes a fantastic holiday gift or party favor. Place 1 cup of pie filling into a small mason jar. Wrap a ribbon around the jar, and add a note calling it ice cream topping.
- This recipe will keep for 5 days in the refrigerator in an air-tight container.
- To freeze, place the cooked pie filling into a large ziptop bag and freeze for 2-3 months.
More Recipes Using Fresh Fruit
- Mini Apple Cheddar Pies – made with this apple pie filling recipe
- Fresh Mango Salsa
- Peach and Blueberry Galette
- Fall Harvest Salad
- Peach Arugula Pasta Salad
Easy Homemade Apple Pie Filling
Ingredients
- 4-6 apples
- 1/3 cup brown sugar
- 1 tbsp cornstarch
- 1 tbsp water
- 2 tbsp butter
- 1 teaspoon cinnamon
- 1/4 teaspoon nutmeg
- 1/4 teaspoon salt
Instructions
- Peel and slice apples. Set aside until ready to cook.
- In a large stove-top pot, melt the butter on medium-high heat.
- Add the brown sugar, cinnamon, nutmeg, and salt until it is combined and become a lovely brown caramel color.
- Add the apples to the pot, stirring to coat all of the apples.
- Cook the apples on medium-high until they start to let go of some of their water and create more liquid.
- When the liquid starts to boil (3-4 minutes), turn the heat down to low and cook the apples in the butter-sugar sauce for 15-20 minutes, stirring about 4-5 times during the cooking process.
- In a small bowl or cup, combine the cornstarch and water, stir until smooth.
- Fold the cornstarch water mix into the apples and gently stir until the sauce thickens.
- Remove from the heat and cool at room temperature.
Notes
- When slicing the apples, try to keep them all the same size so they cook evenly. If they are too thin, they will get mushy and you want to maintain some of the crispiness.
- Taste – taste – taste! Taste the apples while they are cooking and cook them until they are soft, but not mushy. For this recipe, undercooked is better than overcooked. If you do overcook the apples, it’s easy to turn this recipe into Homemade Apple Sauce.
- Try adding different seasonings and spices to give the pie filling different flavors. Some of my favorites are vanilla, ginger, or cardamom.
- This recipe makes a fantastic holiday gift or party favor. Place 1 cup of pie filling into a small mason jar. Wrap a ribbon around the jar, and add a note calling it ice cream topping.
- This recipe will keep for 5 days in the refrigerator in an air-tight container.
- To freeze, place the cooked pie filling into a large ziptop bag and freeze for 2-3 months.





Another thought … make the thicking first somehow … add the butter and sugar and spices … thrn you know how many apppes it will take? And you can taste and adjust seasonings to your taste? I always think a little backwards …
Good plan Jan. Thanks!